1. Produkt Overview
The Intermatic MIL72ASTUZH-240 is a robust 24-hour electromechanical timer module designed for precise control of electrical circuits. It is suitable for mounting inside a control panel, offering flexibility with both surface and DIN rail mounting options. This timer is engineered for light-duty commercial applications operating on 240 VAC single-phase power. Its applications include, but are not limited to, lighting control, HVACR systems, pumps, motors, fan controls, access control systems, and general-purpose electrical circuits. The unit features a non-replaceable Nickel Metal Hydride battery, which is pre-installed.
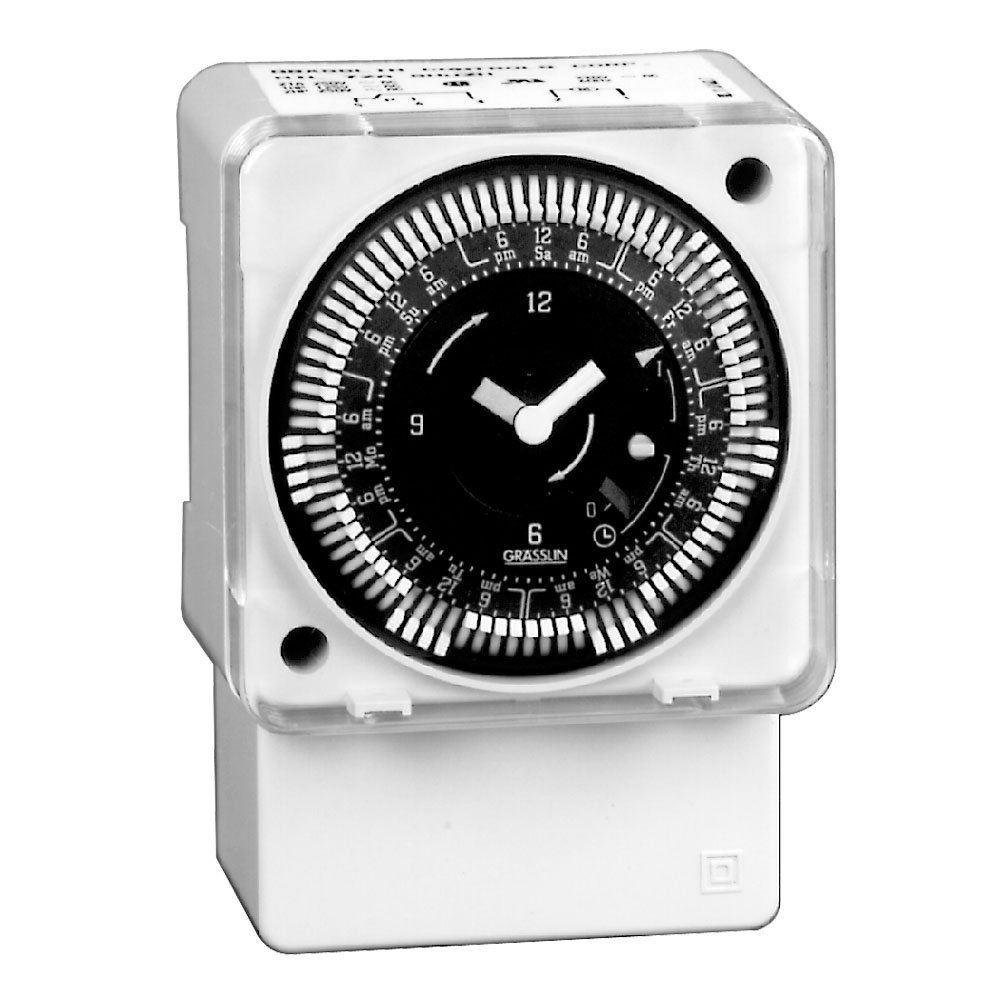
Ofbylding 1.1: Front view of the Intermatic MIL72ASTUZH-240 Electromechanical Time Control module.
2. Key Features
- Synchronous Drive: Operates without the need for battery backup for its primary timing function.
- 21 Amp SPDT-skeakel: Provides reliable switching for various electrical loads.
- Captive Trippers: Features 15-minute interval trippers for precise scheduling, which are captive to prevent loss.
- 1/4-Inch Quick-Connect Terminals: Facilitates easy and secure electrical connections.
- 3-Way Manual Override: Allows for temporary manual control of the timer's output, overriding the programmed schedule.
3. Spesifikaasjes
| Model Number | MIL72ASTUZH-240 |
| Operaasje Mode | Hantlieding |
| Aktuele wurdearring | 21 Amps |
| Operaasje Voltage | 240 Volt |
| Kontakt Type | Normally Open (SPDT Switch) |
| Connector Type | Quick Connect (1/4-Inch) |
| Circuit Type | 3-wei |
| Type actuator | Push Button (for manual override) |
| Materiaal | Metaal |
| Ofmjittings (L x B x H) | 4.63 x 3.25 x 3.25 inch |
| Item Gewicht | 8 oz |
| Ynternasjonale beskerming Rating | IP00 |
| Batterij | Non-replaceable Nickel Metal Hydride (pre-installed) |
4. Ynstallaasje en opset
4.1 Feiligens foarsoarchsmaatregels
- WARSKÔGING: Disconnect power at the circuit breaker or fuse box before installing or servicing the timer. Failure to do so may result in serious injury or death.
- De ynstallaasje moat útfierd wurde troch in kwalifisearre elektricien yn oerienstimming mei alle nasjonale en lokale elektryske foarskriften.
- Soargje derfoar dat it bestjoeringssysteem voltage of the timer (240V) matches the supply voltage.
4.2 Montage
The MIL72ASTUZH-240 timer module is designed for installation inside a control panel. It supports two mounting methods:
- Oerflak Mount: Secure the timer directly to a flat surface within the control panel using appropriate fasteners (not included).
- DIN-railbefestiging: Attach the timer to a standard DIN rail within the control panel. Ensure the timer is securely clipped onto the rail.

Ofbylding 4.1: Detaillearre view of the timer showing mounting points and quick-connect terminals.
4.3 Bedrading
Connect the timer to the 240 VAC power supply and the load using the 1/4-inch quick-connect terminals. Refer to the wiring diagram provided with the product packaging for specific connection details. Ensure all connections are tight and secure.
- Identify the Line (L1, L2) and Load terminals.
- Connect the incoming 240V power to the appropriate Line terminals.
- Connect the device to be controlled (load) to the Load terminals.
5. Bedriuwsinstruksjes
5.1 Setting the Time of Day
Rotate the dial clockwise until the current time aligns with the time indicator arrow on the timer face. The dial is marked for 24 hours.
5.2 Programming ON/OFF Times
The timer uses captive trippers for programming. Each tripper represents a 15-minute interval.
- To set an ON period, push the trippers outwards (away from the center) for the desired duration.
- To set an ÚT period, leave the trippers in their inward position (towards the center).
- Ensure that the desired ON/OFF periods are clearly defined by the tripper positions.
5.3 Hânlieding oerskriuwe
The MIL72ASTUZH-240 features a 3-way manual override switch. This allows you to temporarily change the timer's state without altering the programmed schedule.
- Consult the timer's face or specific markings for the exact positions of the 3-way override. Common positions include:
- OP: Forces the connected load to remain ON, regardless of the program.
- AUTO: Allows the timer to follow its programmed schedule.
- ÚT: Forces the connected load to remain OFF, regardless of the program.
- To return to automatic operation, set the override switch to the "AUTO" position.
6. Underhâld
The Intermatic MIL72ASTUZH-240 is designed for minimal maintenance. Regular inspection is recommended to ensure optimal performance.
- Reiniging: Keep the timer free from dust and debris. Use a dry, soft cloth for cleaning. Do not use liquid cleaners or solvents.
- Ferbinings: Kontrolearje elektryske ferbiningen periodyk op strakheid en tekens fan korrosje.
- Batterij: The unit contains a non-replaceable Nickel Metal Hydride battery. This battery is primarily for internal clock operation during power outages and is not user-serviceable. The synchronous drive means the main timing function does not rely on this battery for continuous operation.
- Miljeubetingsten: Ensure the timer is operated within its specified environmental conditions (e.g., temperature, humidity) to prevent damage.
7. Probleemoplossing
| Probleem | Mooglike oarsaak | Oplossing |
|---|---|---|
| Timer not operating / Load not switching | No power supply; Incorrect wiring; Manual override engaged; Trippers not set correctly. |
|
| Load remains ON or OFF continuously | Manual override engaged; Trippers stuck or incorrectly set. |
|
| Timer dial not advancing | No power to the timer. | Verify power supply to the timer. |
If troubleshooting steps do not resolve the issue, contact a qualified electrician or Intermatic customer support for assistance.
8. Garânsje en stipe
This product is sold without an explicit warranty from the manufacturer as per available information. For specific warranty details or support inquiries, please refer to the documentation included with your purchase or contact Intermatic directly through their official website of klant tsjinst kanalen.
Fabrikant: Intermatic Incorporated
Website: www.intermatic.com (This is a general link, specific support contact may vary)