
Ynlieding
This manual provides essential information for the proper installation, operation, and maintenance of your Valeo 850625 Window Winding Handles (Power Window Motor and Regulator Assembly). Please read these instructions carefully before proceeding with installation or use to ensure safe and efficient operation.
Safety Information
- Koppel altyd de batterij fan 'e auto los foardat jo elektrysk wurk útfiere om elektryske skokken of skea te foarkommen.
- Draach passende persoanlike beskermingsmiddelen (PPE) lykas feilichheidsbrillen en wanten tidens de ynstallaasje.
- Soargje derfoar dat alle ferbiningen feilich en goed isolearre binne om koartslutingen te foarkommen.
- Refer to your vehicle's service manual for specific instructions regarding window regulator removal and installation.
- Keep hands and tools clear of moving parts during testing and operation.
Produkt oerview
The Valeo 850625 is a complete power window motor and regulator assembly designed for vehicles without an automatic window lift function. It includes the electric motor and the mechanical winding mechanism necessary to raise and lower the vehicle's window glass.
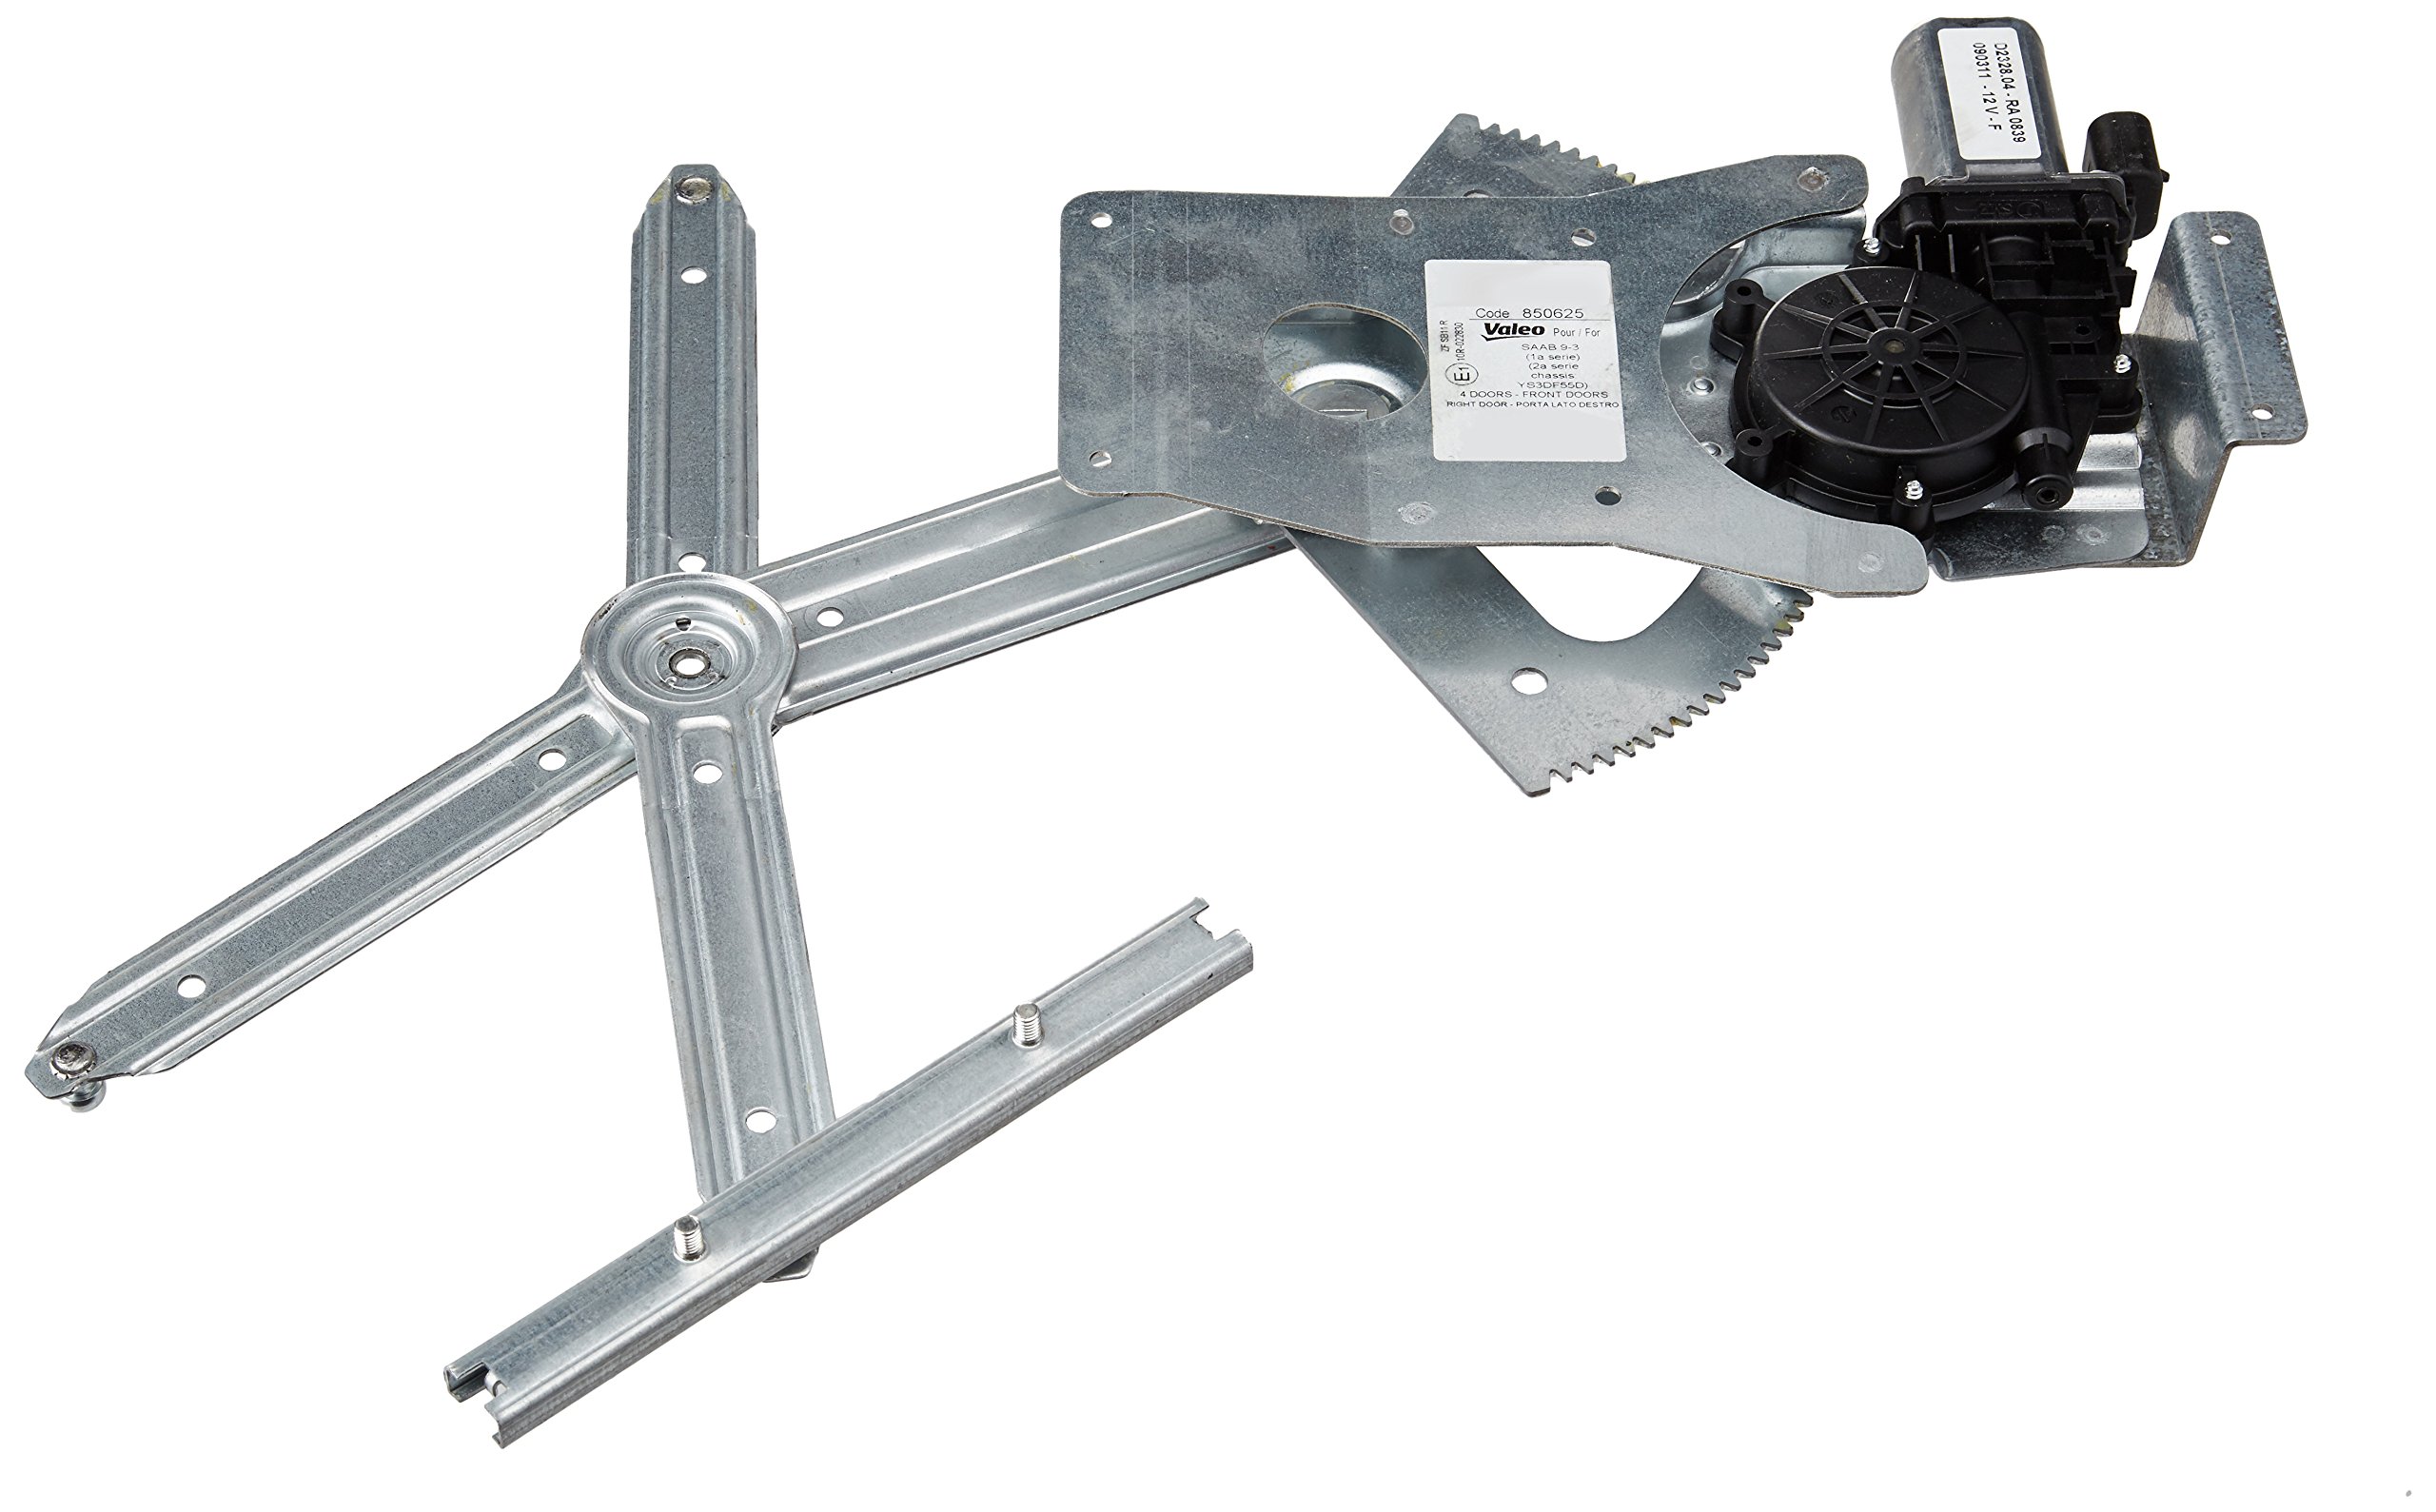
Ofbylding 1: Valeo 850625 Window Regulator Assembly. This image displays the complete unit, including the electric motor (top left) connected to the gear mechanism, and the scissor-style regulator arms extending to the right, which attach to the window glass.
Opset en ynstallaasje
- Tarieding: Park the vehicle on a level surface, engage the parking brake, and disconnect the negative terminal of the battery.
- Ferwidering fan doarpaniel: Carefully remove the interior door panel according to your vehicle's service manual. This typically involves removing screws, clips, and disconnecting electrical connectors.
- Tagongsregulator: Remove any plastic sheeting or sound deadening material to gain access to the window regulator assembly.
- Window Glass Support: Secure the window glass in the up position using tape or a wedge to prevent it from falling once the regulator is disconnected.
- Disconnect Old Regulator: Disconnect the electrical connector from the old window motor. Unbolt the window glass from the regulator arms. Remove the mounting bolts that secure the old regulator assembly to the door frame. Carefully remove the old unit from the door.
- Nije regulator ynstallearje: Position the Valeo 850625 assembly into the door cavity. Secure it with the mounting bolts, ensuring they are tightened to the manufacturer's specifications.
- Ferbine finsterglês: Attach the window glass to the regulator arms. Ensure the glass moves freely in its tracks.
- Elektryske ferbining: Connect the electrical harness to the new window motor.
- Test operaasje: Reconnect the vehicle's battery. Test the window's up and down operation using the window switch. Ensure smooth movement and proper sealing.
- Reassemble: Once satisfied with the operation, reattach any plastic sheeting, and reinstall the interior door panel and all associated components.
Operating Instructions
The Valeo 850625 window regulator is designed for vehicles without an automatic window lift function. To operate the window:
- Om it finster te ferleegjen: Press and hold the window switch in the "down" position until the window reaches the desired level.
- Om it finster omheech te bringen: Press and hold the window switch in the "up" position until the window reaches the desired level or is fully closed.
Release the switch to stop the window at any point. This unit does not feature one-touch up/down functionality.
Ûnderhâld
The Valeo 850625 window regulator is a sealed unit and generally requires minimal maintenance. However, periodic checks can help ensure longevity:
- Window Tracks: Periodically inspect and clean the window tracks to ensure they are free of dirt and debris. Lubricate with a silicone-based lubricant designed for automotive window channels if movement becomes stiff.
- Elektryske ferbiningen: If accessing the door panel, check that all electrical connections to the motor are secure and free from corrosion.
- Montage Bolts: Ensure all mounting bolts remain tight.
Troubleshooting
| Probleem | Mooglike oarsaak | Oplossing |
|---|---|---|
| Window does not move. | Blown fuse, faulty switch, disconnected wiring, motor failure. | Check vehicle's fuse box for a blown window fuse and replace if necessary. Test the window switch. Inspect wiring connections at the motor and switch. If fuse and switch are good, the motor may need replacement. |
| Window moves slowly or with difficulty. | Dirty or dry window tracks, worn motor, bent regulator arms. | Clean and lubricate window tracks. Inspect regulator arms for damage. If tracks are clean and lubricated, the motor may be weakening. |
| Grinding or clicking noise during operation. | Damaged gears in motor or regulator, loose mounting bolts. | Inspect the regulator assembly for damaged gears or loose components. Ensure all mounting bolts are tight. Replacement of the unit may be necessary if internal damage is found. |
| Window falls down or does not stay up. | Regulator mechanism failure. | The regulator assembly is likely faulty and requires replacement. |
Spesifikaasjes
- Merk: NISSENS
- Model Oantal: 850625
- Item Gewicht: 1.19 kilogram
- Fabrikant: VALEO Service France
- Combi Switch Function: Without comfort function
- Supplementary Info: With electric motor
- Vehicle Equipment: For vehicles without automatic window lift function
Garânsje en stipe
For warranty information or technical support regarding your Valeo 850625 Window Winding Handles, please refer to the documentation provided with your purchase or contact Valeo customer service directly. Contact details can typically be found on the official Valeo webwebside of fia jo autorisearre ferkeaper.
Online boarnen: www.valeo.com