1. Ynlieding
Thank you for choosing the Glovii GP1 Heated Thermal Long Pants. This manual provides essential information for the safe and effective use, setup, operation, and maintenance of your heated apparel. Please read this manual thoroughly before first use and retain it for future reference.
The Glovii GP1 Heated Thermal Long Pants are designed to provide warmth and comfort in cold conditions. They feature integrated heating elements and are powered by a rechargeable Li-ion battery.
2. Safety Ynstruksjes
- Do not use if you have a pacemaker, are pregnant, or have circulatory problems without consulting a doctor.
- Avoid direct contact of heating elements with bare skin for prolonged periods to prevent burns.
- Do not use while sleeping or if you are unable to feel heat properly.
- Keep the battery and charging components away from water and extreme temperatures.
- Do not puncture, disassemble, or modify the battery or heating system.
- Always disconnect the battery before washing the pants.
- If you experience discomfort, excessive heat, or skin irritation, immediately turn off the heating system and remove the pants.
- Use only the charger provided by Glovii for the battery.
3. Package Ynhâld
- 1 x Glovii GP1 Heated Thermal Long Pants
- 1 x Li-ion Battery (Model: GL17426, Capacity: 7.4V, 2600mAh, 19.24Wh)
- 1 x Charger with interchangeable plugs (EU, UK, USA)
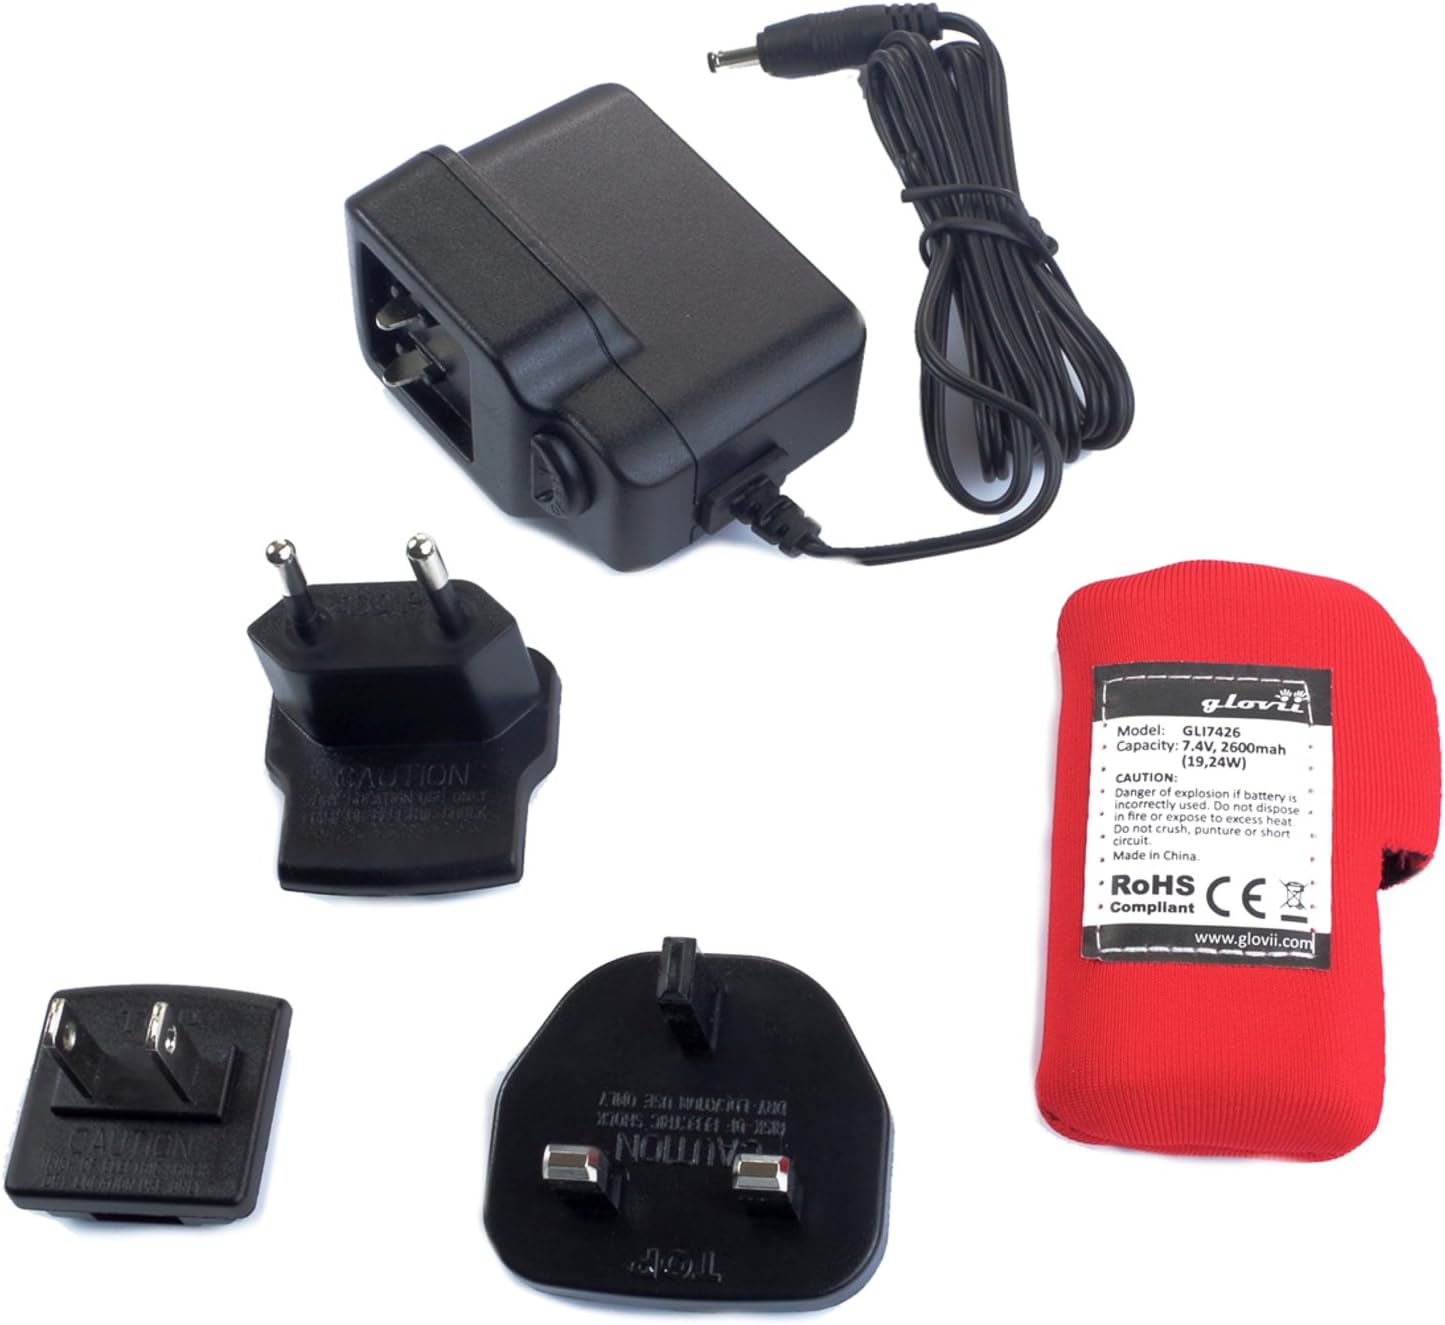
Image: The Glovii GP1 charger with various international plug adapters and the red Li-ion battery pack.
4. Opsette
4.1 De batterij opladen
- Connect the charger to a power outlet using the appropriate plug adapter.
- Ferbine de batterij mei de lader. It yndikatorljocht op 'e lader sil de oplaadstatus oanjaan (bygelyks, read foar opladen, grien foar folslein opladen).
- Charge the battery fully before first use. A full charge typically takes 3-4 hours.
- Do not overcharge the battery. Disconnect once fully charged.
4.2 De batterij ynsette
- Locate the battery pocket on the Glovii GP1 pants, typically on the waistband or side.
- Open the zipper of the battery pocket.
- Connect the battery cable from the pants to the fully charged Li-ion battery.
- Place the battery securely inside the pocket and close the zipper. Ensure the cable is not pinched.

Image: Close-up of the Li-ion battery connected to the pants' internal cable and secured within its zippered pocket.
5. Bedriuwsinstruksjes
5.1 Powering On/Off and Adjusting Heat Levels
- Locate the control button on the waistband of the pants.
- Om oan te setten: Press and hold the control button for approximately 3 seconds until the button illuminates. The pants will typically start at the highest heat setting.
- Om waarmtenivo oan te passen: Briefly press the control button to cycle through the available heat settings. Each press will change the heat level, indicated by the color or number of illuminated segments on the button. (e.g., Red for High, Orange for Medium, Green for Low).
- Om út te skeakeljen: Press and hold the control button for approximately 3 seconds until the light turns off.

Ofbylding: In close-up view of the round control button on the waistband, featuring the Glovii heating symbol.
5.2 Heating Zones
The Glovii GP1 pants feature carbon fiber heating elements strategically placed at the knees and lumbar area to provide even and effective warmth.

Ofbylding: Front view of the Glovii GP1 heated pants, illustrating the heating elements located in the upper thigh/lumbar area and at the knees.
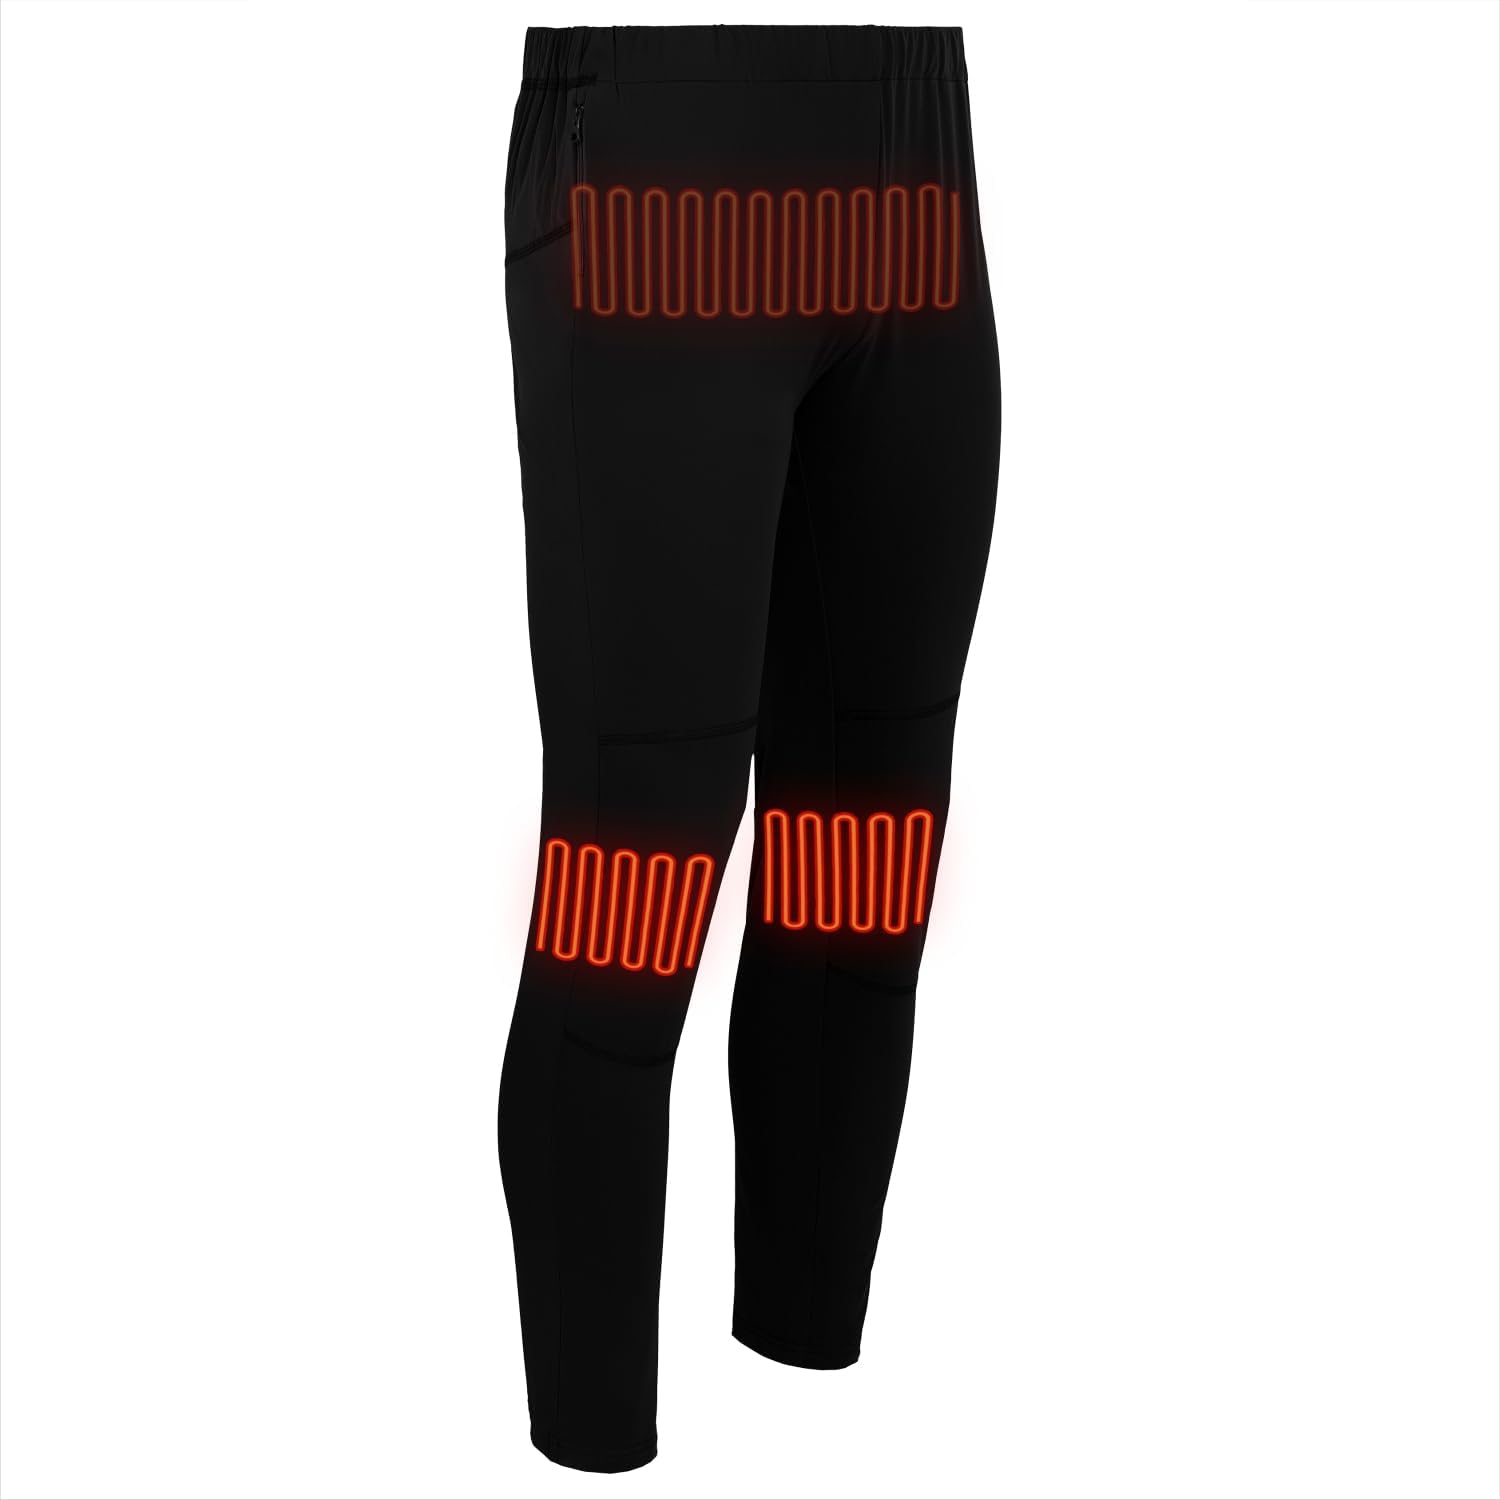
Ofbylding: Side view of the Glovii GP1 heated pants, highlighting the heating elements in the lumbar and knee regions.
6. Underhâld en soarch
6.1 Waskjen ynstruksjes
- Altyd fuortsmite de batterij foar it waskjen.
- Hand wash or machine wash on a gentle cycle with cold water.
- Net bleken, strijken of stoomreinigje.
- Hang dry only. Do not tumble dry.
- Ensure the pants are completely dry before reconnecting the battery and using.
6.2 Batterij Soarch
- Bewarje de batterij yn in koel, droech plak as net yn gebrûk.
- For long-term storage, charge the battery to approximately 50% every 3-6 months to maintain its lifespan.
- Net bleatstelle de batterij oan direkte sinneljocht of waarmte boarnen.
7. Probleemoplossing
- Pants not heating:
- Soargje derfoar dat de batterij folslein is opladen.
- Check that the battery is correctly connected to the pants' cable.
- Verify the control button is pressed and held to power on.
- Heat is inconsistent or weak:
- The battery might be low; recharge it.
- Ensure the pants are worn snugly to allow efficient heat transfer.
- Control button not responding:
- Disconnect and reconnect the battery.
- Soargje derfoar dat de batterij genôch lading hat.
If problems persist, please contact Glovii customer support.
8. Spesifikaasjes
| Model Number | GP1 |
| Fabrikant | SUNEN Sp. z oo |
| Materiaal Gearstalling | 96% Cotton, 4% Elastane |
| Ofsluting Type | Drawstring |
| Batterij Type | 1 Lithium-ion-batterij (ynbegrepen) |
| Batterij Model | GL17426 |
| Batterij Kapasiteit | 7.4V, 2600mAh (19.24Wh) |
| Produkt Ofmjittings | 29.46 x 24.13 x 5.59 sm |
| Produkt Gewicht | 380 g |

Image: A diagram illustrating the heating zones and a size chart for the Glovii GP1 pants, showing waist, length, and inseam measurements for sizes S-XL.
9. Garânsje en stipe
For warranty information or technical support, please refer to the contact details provided with your purchase or visit the official Glovii webside. Bewarje jo bewiis fan oankeap foar garânsjeclaims.