1. Ynlieding
This manual provides essential information for the safe and effective use of your Westek Indoor Wireless Outlet Switch, Model RFK100LC. This device allows for remote operation of indoor appliances and lighting, offering convenience and energy savings. Please read these instructions thoroughly before installation and operation.
2. Safety Information
- Allinnich gebrûk binnen: Dit apparaat is ûntworpen foar gebrûk binnen yn droege lokaasjes. Net bleatstelle oan wetter of focht.
- Elektryske wurdearring: Ensure the connected appliance's wattage does not exceed the switch's maximum rating. This switch is not rated for high-wattage appliances such as humidifiers or portable A/C units, especially those with three-prong plugs.
- Proper ynstallaasje: Always ensure the receiver is fully plugged into a wall outlet and the appliance is securely plugged into the receiver.
- Foarstel 65 warskôging: Dit produkt kin gemikaliën befetsje dy't bekend binne by de steat Kalifornje om kanker en bertedefekten of oare reproduktive skea te feroarsaakjen. Waskje hannen nei behanneling.
- Bern en húsdieren: Hâld it apparaat bûten it berik fan bern en húsdieren.
3. Package Ynhâld
Your Westek Indoor Wireless Outlet Switch package (Model RFK100LC) includes:
- 2 x Wireless Wall Switch Transmitters
- 2 x Plug-in Receivers
- Mounting Screws for Wall Switches (if desired)
- Instruction Manual

Image: Components of the Westek Indoor Wireless Outlet Switch, showing the wall switch and the plug-in receiver.
4. Opsette
Follow these steps to set up your Westek Indoor Wireless Outlet Switch:
- Prepare the Wall Switch: The wireless wall switch transmitter is battery-powered. Before use, open the switch cover (usually by gently prying or unscrewing) and remove any plastic tab protecting the battery. Ensure the battery is correctly seated.
- Plug in the Appliance: Connect the desired indoor appliance or lamp into the outlet on the plug-in receiver.
- Stek de ûntfanger yn: Insert the receiver into a standard wall socket. The receiver typically has an indicator light (e.g., green LED) to show its status.
- Montearje de muorreskeakel (opsjoneel): You can mount the wall switch transmitter to a desired location using the provided mounting screws. Alternatively, it can be placed on any flat surface.
- Test operaasje: Use the wall switch to turn the connected device on and off. The receiver's indicator light will typically change state (e.g., turn off when the device is off) to confirm operation.
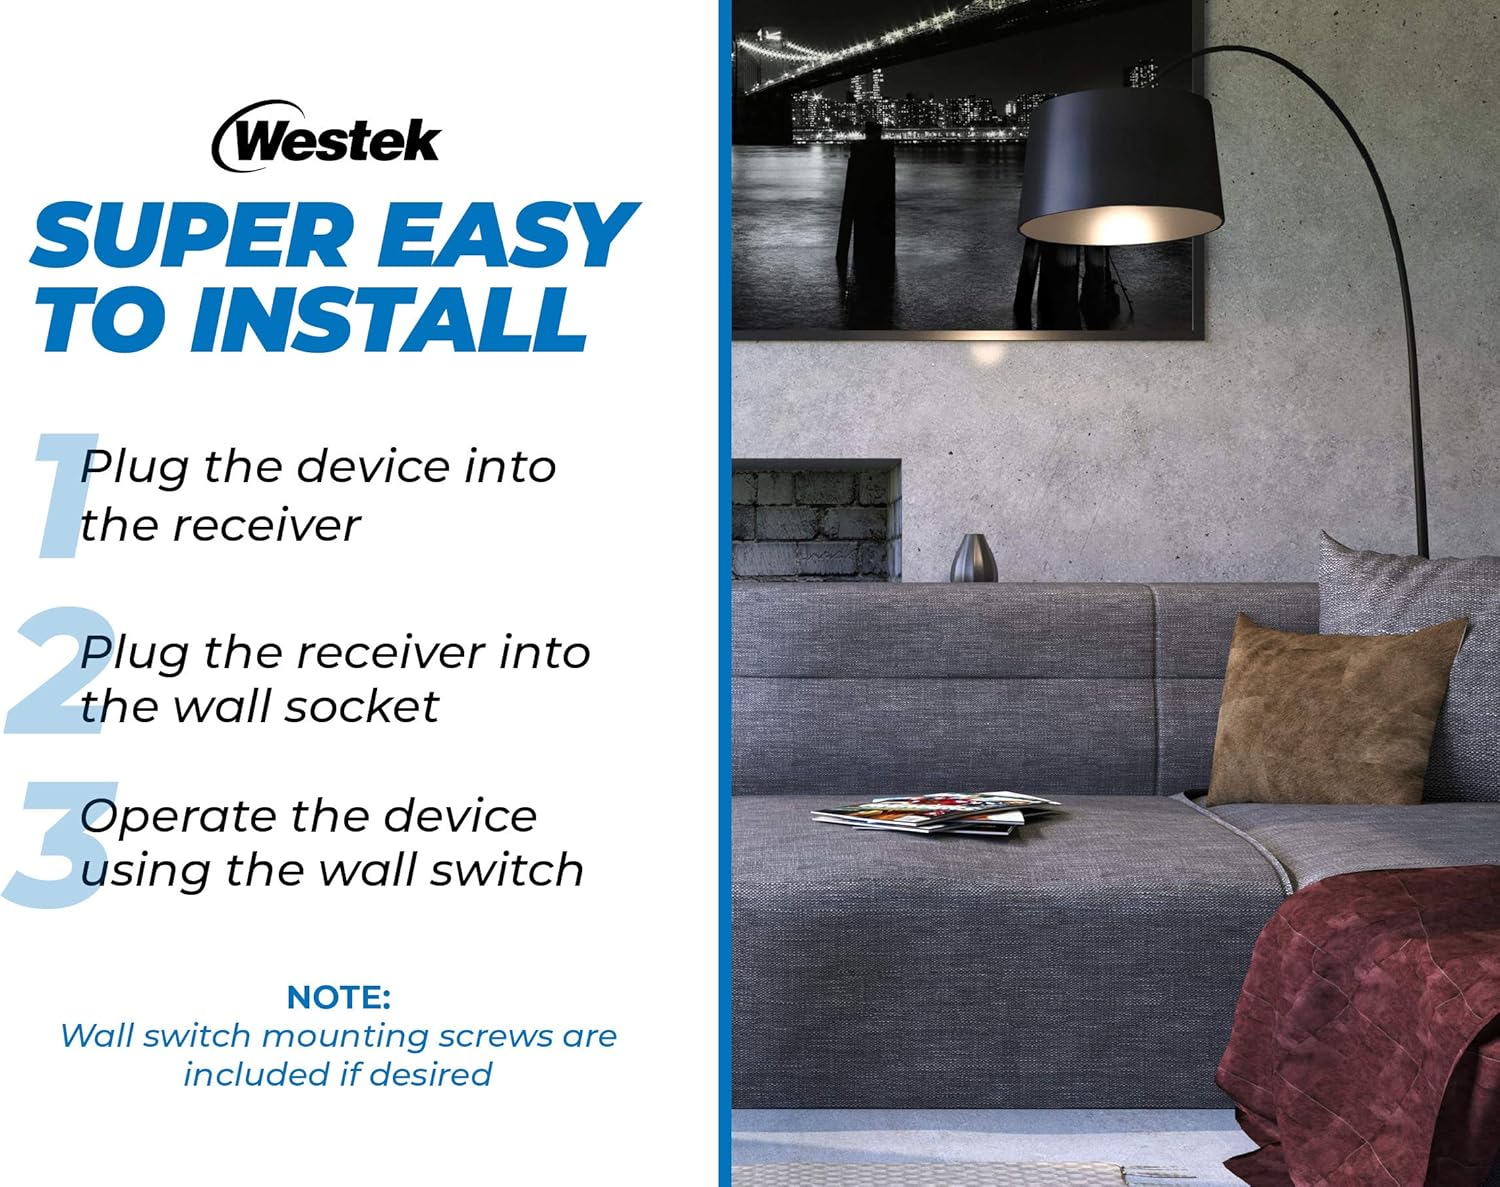
Image: Visual guide illustrating the three simple steps for installing the wireless outlet switch.
Video: An official product video from Firefly Buys demonstrating the setup and functionality of the Westek Indoor Wireless Light Switch and Receiver Kit. This 34-second video shows how to connect the receiver and use the remote switch.
5. Bedriuwsinstruksjes
The Westek Indoor Wireless Outlet Switch provides convenient control over your connected devices:
- Remote Control: Use the wall switch transmitter to turn the connected appliance or light on and off from a distance. The radio frequency (RF) signal works up to 100 feet away, even through walls and around corners.
- Hânlieding kontrôle: The plug-in receiver also features a manual on/off button. You can press this button directly on the receiver to control the connected device. The button's indicator light will show the current status (e.g., green for ON).
- Meardere ienheden: If using multiple Westek wireless switches, ensure they are on different frequencies (A through E) to avoid interference. If you experience issues, check the frequency of each unit.

Image: Diagram illustrating the 100 ft. wireless transmission range between the wall switch and the plug-in receiver.
6. Underhâld
- Batterij ferfanging: The wireless wall switch transmitter requires a battery (type not specified in product data, typically a coin cell or A23 battery). If the switch becomes unresponsive, replace the battery. Refer to the switch housing for battery type and replacement instructions.
- Reiniging: Meitsje de apparaten skjin mei in sêfte, droege doek. Brûk gjin abrasive reinigingsmiddels of oplosmiddels.
- Opslach: When not in use for extended periods, store the devices in a cool, dry place.
7. Probleemoplossing
| Probleem | Mooglike oarsaak | Oplossing |
|---|---|---|
| Device does not turn on/off via wall switch. | Dead or improperly installed battery in wall switch. Receiver not plugged in or not receiving power. Appliance not plugged into receiver. Wall switch cover screwed too tightly. | Replace battery in wall switch. Ensure receiver is securely plugged into a live outlet. Ensure appliance is securely plugged into receiver. Loosen wall switch cover screws slightly if it feels too tight. |
| Intermittent operation or unexpected on/off. | Interference from other wireless devices. Wall switch cover screwed too tightly. | Ensure multiple Westek switches are on different frequencies. Loosen wall switch cover screws slightly. Relocate the receiver or switch to minimize interference. |
| Limited range for remote operation. | Obstructions (thick walls, metal objects). Distance exceeds 100 ft. | Try to minimize obstructions between the switch and receiver. Ensure operation is within the specified 100 ft. range. |
| Receiver indicator light is off. | No power to the outlet. Receiver is off. | Check the wall outlet with another device. Press the manual on/off button on the receiver to turn it on. |
8. Spesifikaasjes
| Eigenskip | Spesifikaasje |
|---|---|
| Model | RFK100LC |
| Merk | Westek |
| Operaasje Mode | Manual, Remote |
| Control Metoade | Remote |
| Konnektivität protokol | RF (Radio Frequency) |
| Triedleaze berik | Up to 100 feet (through walls and around corners) |
| Kompatibele apparaten | Any indoor device (e.g., lamps, appliances) |
| Circuit Type | 3-wei |
| Mounting Type | Muurbefestiging (foar skeakel) |
| Kleur | Wyt |
| Materiaal | Copper (contact material) |
| Item Ofmjittings (L x B x H) | 9 x 8.5 x 3 inches (packaging/overall product dimensions) |
| Oantal ienheden | 2 Count (pack of 2) |
| Ynternasjonale beskerming Rating | IP00 |
9. Garânsje
No specific warranty information is provided in the product data. Please refer to the product packaging or contact Westek customer service for details regarding warranty coverage.
10. Stipe
For further assistance, technical support, or inquiries regarding your Westek Indoor Wireless Outlet Switch, please contact Westek customer service through their official webside of de kontaktgegevens dy't op 'e produktferpakking steane.


