APIELE GQ19AF-10EZ
APIELE 10 Amp 19mm Latching Push Button Switch User Manual
Model: GQ19AF-10EZ
Ynlieding
This user manual provides detailed instructions for the installation, operation, and maintenance of the APIELE 10 Amp 19mm Latching Push Button Switch. This high-quality metal switch is designed for various applications, including automotive, motorcycle modification, and control equipment.
Safety Information
- Ensure power is disconnected before installation or maintenance to prevent electrical shock.
- Ferifiearje voltage and current ratings match your application to avoid damage to the switch or connected devices.
- Do not exceed the specified 10 Amp current rating or 12V operating voltage.
- Handle with care to avoid damaging internal components.
- As jo net wis binne oer ynstallaasjestappen, rieplachtsje dan in kwalifisearre elektricien.
Produkt oerview
The APIELE 10 Amp 19mm Latching Push Button Switch features a durable metal construction and an integrated LED ring. It is designed for reliable performance in various environments.
Key Features:
- Latching Operation: Push once for ON, push again for OFF.
- Hege hjoeddeistige wurdearring: 10 Amps.
- LED ferljochting: 12V LED ring for status indication.
- Duorsume konstruksje: High-quality metal material.
- IP65 Waterproof: Suitable for wet or dusty environments.
- Lange libbensdoer: Electrical life of 200,000 times, mechanical life of 1,000,000 cycles.
Komponinten:
The product includes the push button switch and a connector for wiring.
- 1 x Latching Push Button Switch
- 1 x Connector with pre-attached wires

Figure 1: APIELE 10 Amp 19mm Latching Push Button Switch (Red LED, Silver Stainless Steel).

Figure 2: Various angles of the APIELE push button switch, showcasing syn robuuste ûntwerp.

Figure 3: Comparison highlighting the larger press part and stronger contact terminals of the new design (right) compared to the old design (left).

Figure 4: Illustration of the switch's durability, rated for 200,000 press times and 40,000 hours of lamp libben.

Figure 5: Visual representation of the IP65 waterproof protection, indicating suitability for wet or dusty environments.
Spesifikaasjes
| Spesifikaasje | Wearde |
|---|---|
| Model Number | GQ19AF-10EZ |
| Mounting Hole Grutte | 19 mm (3/4 inch) |
| Operaasje Mode | Latching (ON-OFF) |
| Kontakt konfiguraasje | 1NO (Normaal iepen) |
| Aktuele wurdearring | 10 Amps |
| Operaasje Voltage | 12 Volts (for LED) |
| Beskermingsgraad | IP65 Waterproof |
| Elektryske libben | 200,000 kear |
| Mechanysk libben | 1,000,000 syklusen |
| Shell Materiaal | RVS (Sulver) |
| Terminal Type | Skroef |
| Produkt Ofmjittings | 1.57 x 0.39 x 1.18 inch |

Figure 6: Detailed technical specifications and dimensions of the switch.
Opset en ynstallaasje
Follow these steps for proper installation of your APIELE Latching Push Button Switch.
Wiring Diagram:
The switch comes with a pre-wired connector for ease of installation. Refer to the diagram below for pin assignments:
- Red Wire: Positive LED Pin "+"
- Swarte draad: Negative LED Pin "-"
- Blauwe tried: Normal Open Pin

Figure 7: Wiring diagram showing the function of each colored wire on the connector.
Ynstallaasje stappen:
- Tariede it montagegat: Drill a 19mm (3/4 inch) diameter hole in the desired mounting surface.
- Insert Switch: Insert the switch body into the prepared hole from the front.
- Feilich mei moer: Thread the securing nut onto the switch body from the back and tighten it to hold the switch firmly in place.
- Ferbine wiring: Attach the provided connector to the switch terminals. Ensure correct polarity for the LED function.

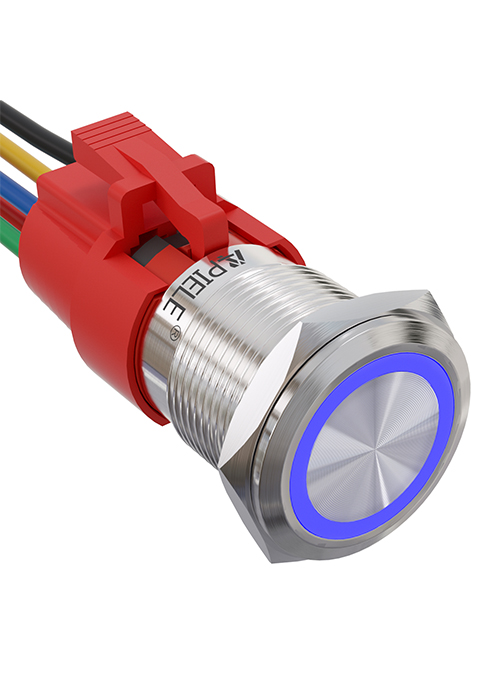
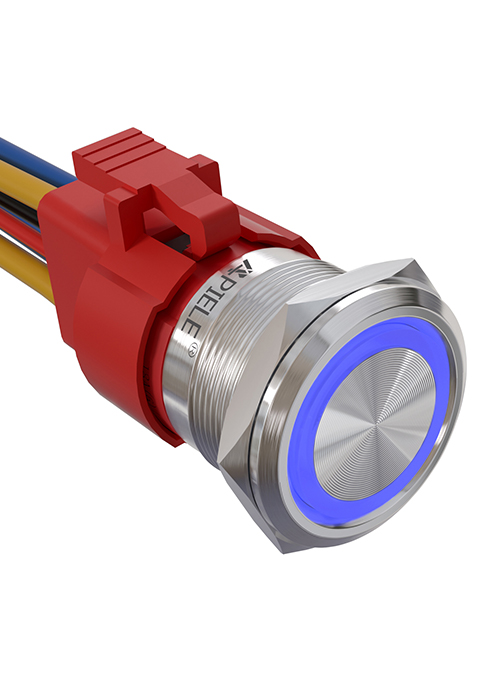

Figure 8: Visual guide for the installation process of the push button switch.
Video 1: This video demonstrates the features and installation of the 10 Amp Latching Push Button switch, including its waterproof capabilities and various applications.
Operating Instructions
The APIELE Latching Push Button Switch operates with a simple ON-OFF mechanism.
- To turn on the connected device, press the button once. The LED ring will illuminate, indicating the switch is in the ON state.
- To turn off the connected device, press the button again. The LED ring will turn off, indicating the switch is in the OFF state.
Video 2: This video showcases the functionality of the 10 Amp 19mm Latching/Momentary Push Button Switch, demonstrating its use in various applications like automotive dashboards and coffee machines.
Applikaasjes:
This versatile switch is suitable for a wide range of applications, including but not limited to:
- Automobile and motorcycle modifications
- Control equipment switch modifications
- Doorbell buttons
- SOS buttons
- Elevator buttons
- Húshâldlike apparaten

Figuer 9: Examples of common applications for the APIELE push button switch, including doorbell, car, and elevator buttons.
Ûnderhâld
The APIELE Latching Push Button Switch is designed for minimal maintenance due to its durable construction and IP65 waterproof rating.
- Reiniging: Wipe the switch surface with a soft, damp doek. Foarkom it brûken fan skuurmiddelen of oplosmiddels dy't de finish of ynterne komponinten beskeadigje kinne.
- Ynspeksje: Periodically check the wiring connections to ensure they are secure and free from corrosion.
- Miljeubeskerming: While waterproof, prolonged submersion is not recommended. Ensure the mounting area is properly sealed if exposed to extreme moisture.
Troubleshooting
| Probleem | Mooglike oarsaak | Oplossing |
|---|---|---|
| Switch does not activate/deactivate device. | Incorrect wiring; Loose connection; No power to circuit; Faulty device. | Check wiring against diagram (Figure 7); Ensure all connections are secure; Verify power supply to the circuit; Test the connected device independently. |
| LED ljochtet net op. | Incorrect LED wiring polarity; No power to LED circuit; Damaged LED. | Check LED wire polarity (Red for +, Black for -); Verify 12V power supply to LED pins; If LED is damaged, the switch may need replacement. |
| Switch feels loose after installation. | Befestigingsmoer net genôch oandraaid. | Tighten the securing nut on the back of the switch. |
Garânsje en stipe
APIELE products are manufactured to high standards. For any issues or support inquiries, please contact APIELE Electric directly through their official channels or the retailer from whom the product was purchased.
Besykje de APIELE Store on Amazon foar mear ynformaasje en kontaktmooglikheden.
Ask a question about this manual
Ask about setup, troubleshooting, compatibility, parts, safety, or missing instructions. Manuals+ will review the question and use this page’s manual context to help answer it.