
1. Wichtige Safety Ynstruksjes
Please read all instructions carefully before using your Fakir Ice Maker. Keep this manual for future reference.
- Ensure the power supply matches the rating label on the appliance.
- Dompel it apparaat, it netsnoer of de stekker net ûnder yn wetter of oare floeistoffen.
- Trek de stekker út it stopkontakt as net yn gebrûk en foar skjinmeitsjen.
- Betsjinje gjin apparaat mei in skansearre snoer of stekker, of neidat it apparaat defekt is of op ien of oare manier skansearre is.
- Brûk net bûten. Dit apparaat is allinich foar húshâldlik gebrûk binnen.
- Hâld it apparaat fuort fan waarmteboarnen en direkte sinneljocht.
- Ensure proper ventilation around the unit. Maintain at least 15 cm clearance on all sides.
- Brûk allinnich drinkwetter yn 'e wettertank.
- Do not place fingers or hands into the ice maker during operation.
- Dit apparaat is net bedoeld foar gebrûk troch persoanen (ynklusyf bern) mei fermindere fysike, sintúchlike of mentale kapasiteiten, of gebrek oan ûnderfining en kennis, útsein as se hawwe krigen tafersjoch of ynstruksje oangeande it brûken fan it apparaat troch in persoan ferantwurdlik foar harren feiligens.
2. Produkt Overview
Familiarize yourself with the components of your Fakir Ice Maker.
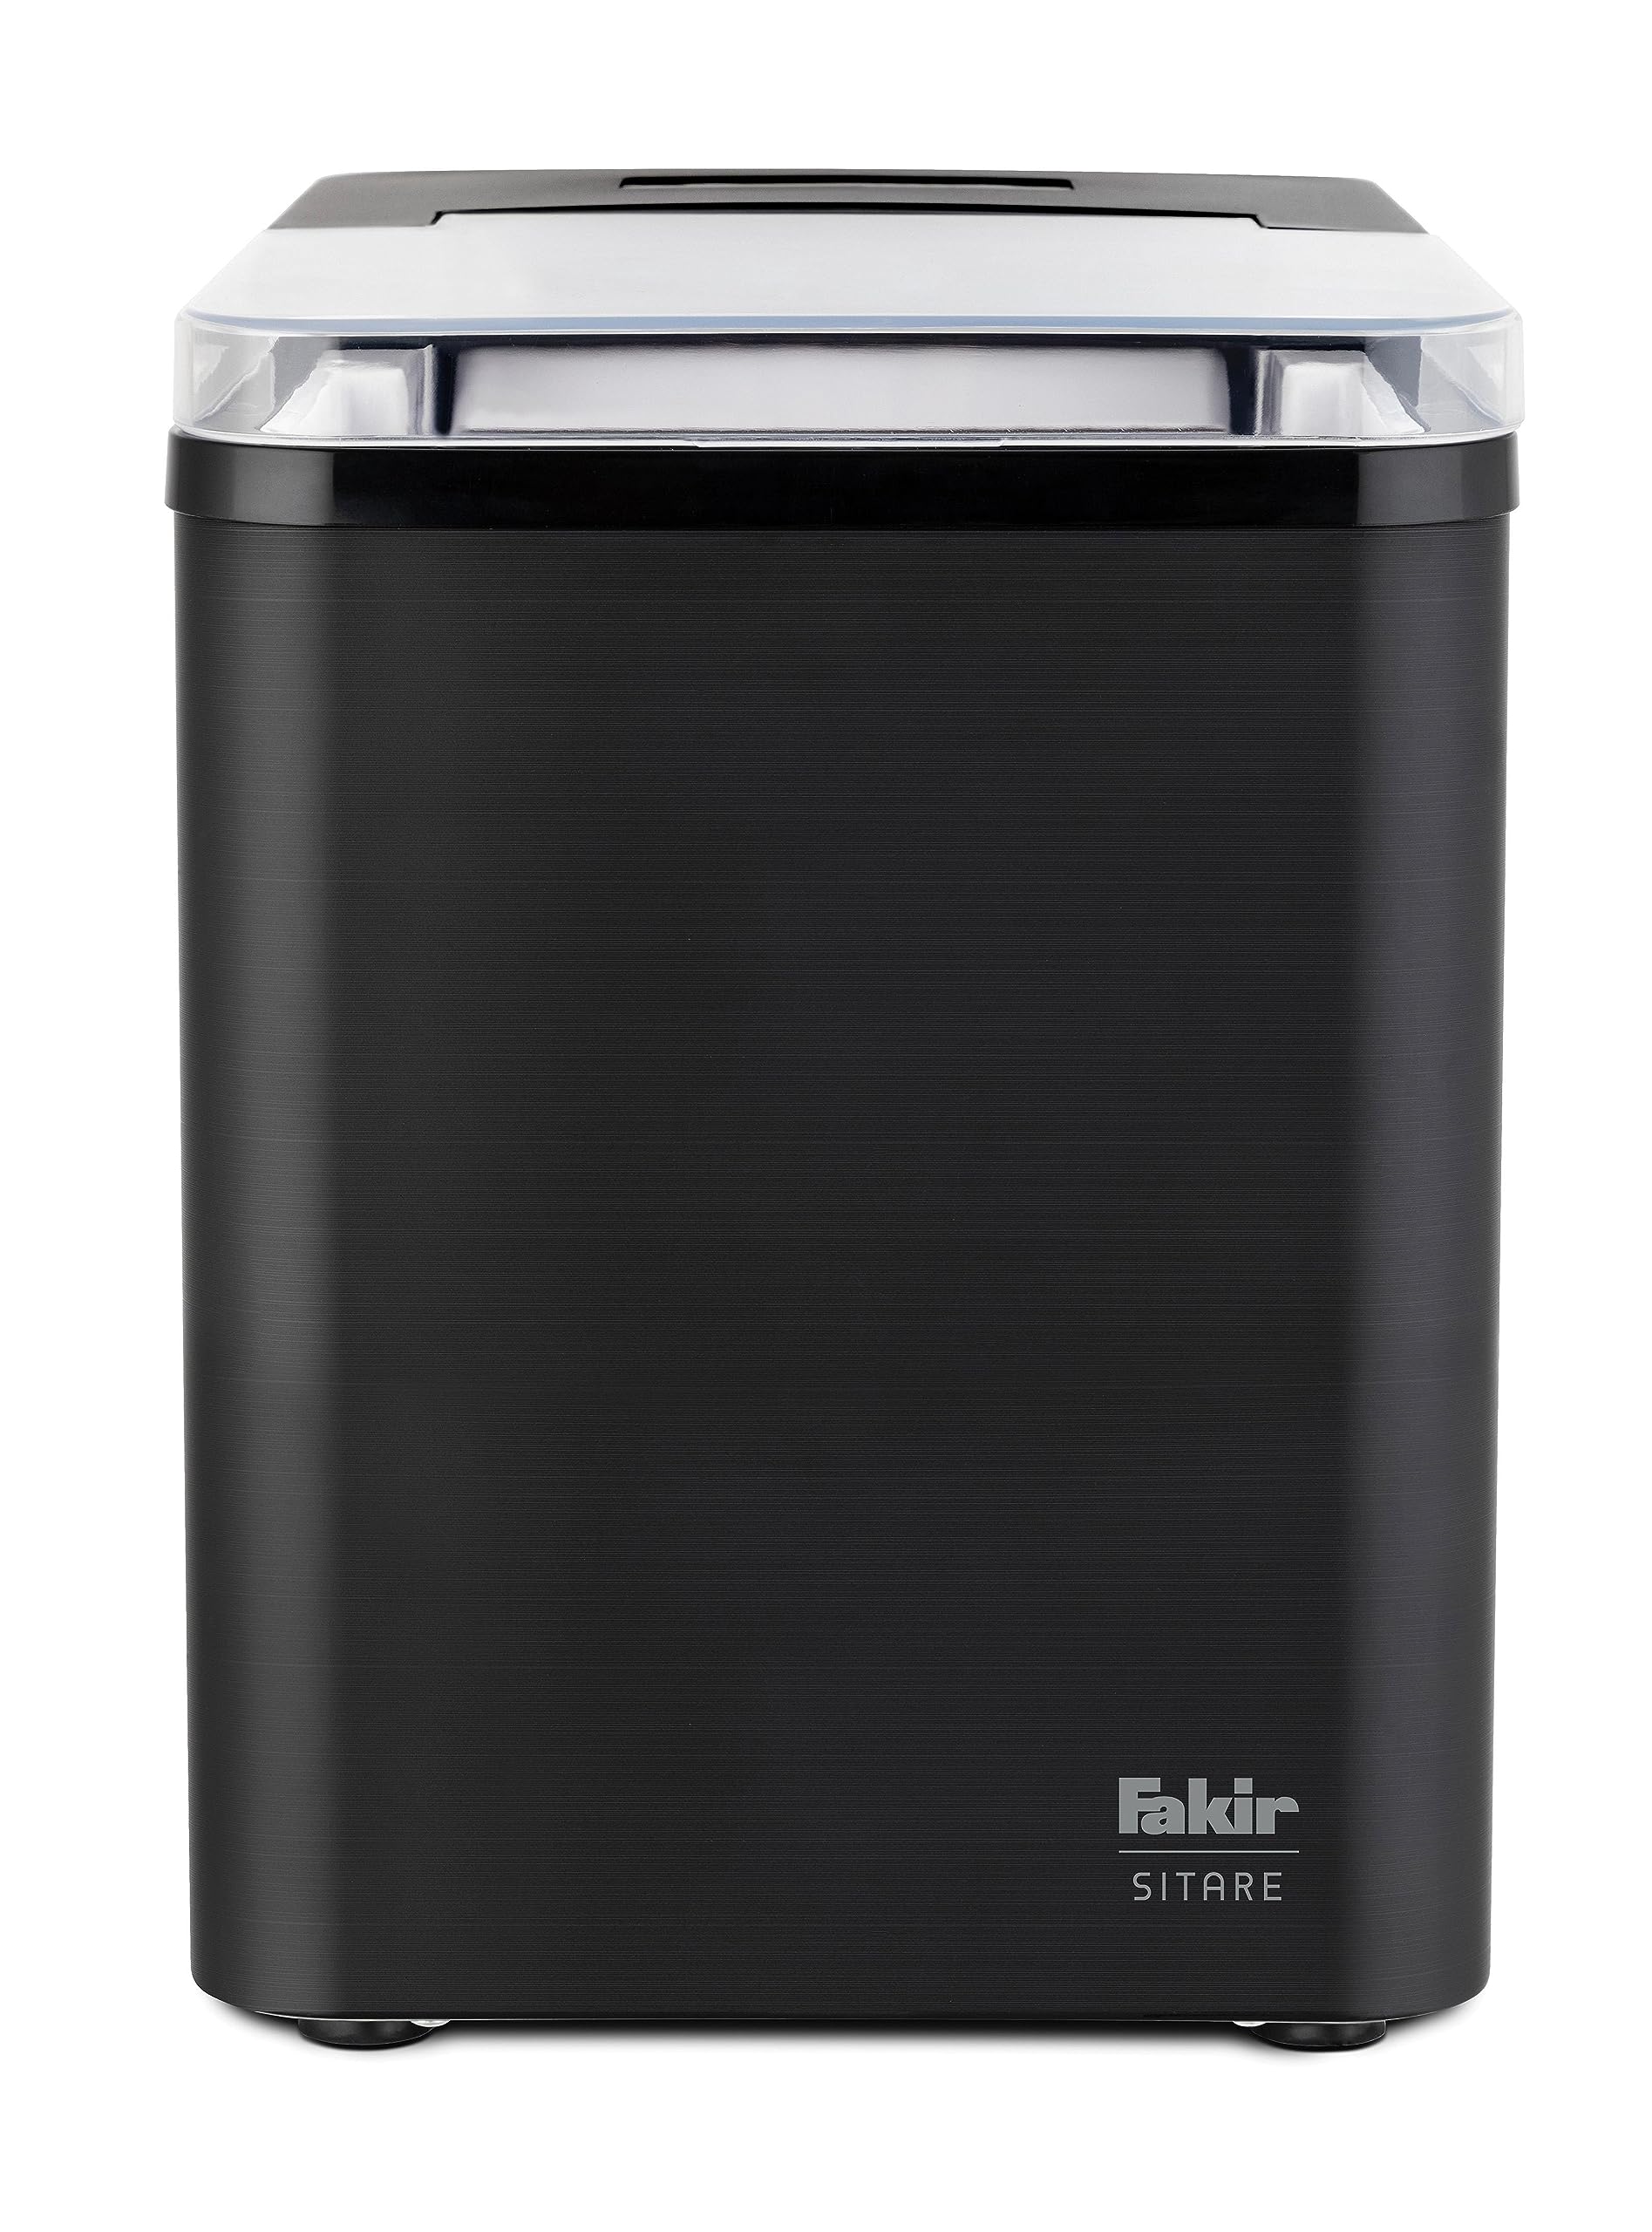
Ofbylding 2.1: Overall view of the Fakir Ice Maker, showing the control panel and a full basket of ice cubes.

Ofbylding 2.2: Top-down view of the ice maker's interior, featuring ice cubes and the included ice scoop.

Ofbylding 2.3: Close-up of the ice maker's internal mechanism, including the ice-making fingers and water tray.

Ofbylding 2.4: View of the empty ice maker interior, highlighting the water reservoir and ice basket area.

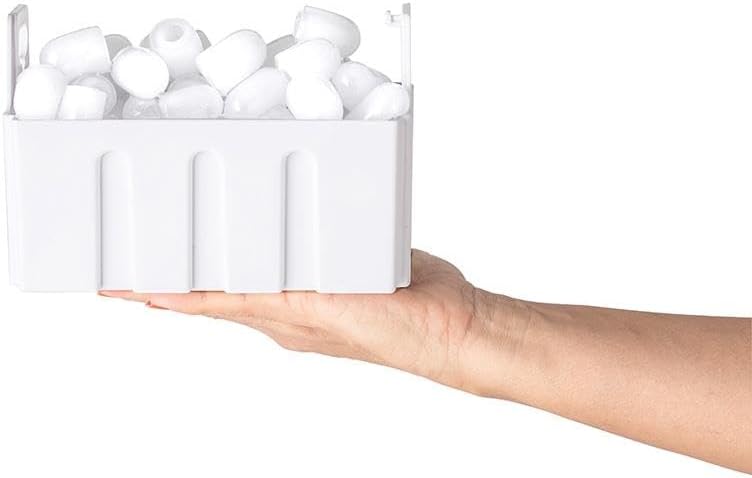
Ofbylding 2.5: The removable ice basket, shown being held, for easy ice collection.
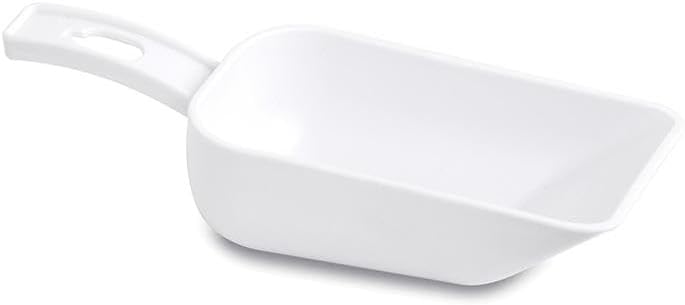
Ofbylding 2.6: The white plastic ice scoop provided with the ice maker.
Ofbylding 2.7: Side view of the ice maker, illustrating the ventilation grille for heat dissipation.

Ofbylding 2.8: The empty ice basket, ready to be placed inside the ice maker.
3. Opsette
3.1 Útpakke
- Helje de iismakker foarsichtich út 'e ferpakking.
- Remove all packaging materials, including any tape or protective films.
- Kontrolearje op skea tidens it ferfier. As it skansearre is, brûk it dan net en nim kontakt op mei de klanttsjinst.
3.2 Pleatsing
- Place the ice maker on a stable, level surface, away from direct sunlight and heat sources (e.g., ovens, radiators).
- Ensure there is at least 15 cm (6 inches) of clearance around the unit for proper ventilation. Do not block the air vents.
- The ambient temperature should be between 10°C and 32°C (50°F and 90°F) for optimal performance.
3.3 Initial Cleaning
- Before first use, clean the interior of the ice maker.
- Remove the ice basket and wash it with warm water and a mild detergent. Rinse thoroughly.
- Feie de binnenkant fan 'e wettertank en it iisopfanggebiet ôf mei in sêfte doek.ampened with warm water and a small amount of vinegar or mild detergent. Rinse by wiping with a clean, damp doek.
- Dryje alle dielen goed foardat se opnij ynstalleare.
4. Bedriuwsinstruksjes
4.1 Wetter tafoegje
- Iepenje it deksel en helje de iismand derút.
- Folje it wetterreservoir mei drinkwetter oant de MAX-folline. Net te folle folje.
- Ferfange de iiskoer en slute it lid.
4.2 Begjinne mei iisproduksje
- Stek de iismakker yn in ierdske stopkontakt.
- Press the 'POWER' button on the touch control panel to turn on the appliance. The 'POWER' indicator light will illuminate.
- The ice maker will automatically begin the ice-making cycle. The first batch of ice cubes will typically be ready in approximately 8 minutes.
4.3 Control Panel Indicators
- ICE FULL: This indicator light will illuminate when the ice basket is full. The ice production will pause automatically. Remove some ice to resume production.
- WATER Foegje: This indicator light will illuminate when the water reservoir is low. Add more water to the reservoir to resume ice production.
- KRÊFT: This indicator light shows that the unit is powered on.
4.4 Collecting Ice
- When the 'ICE FULL' indicator lights up, open the lid and use the provided ice scoop to remove ice cubes from the basket.
- For best results, transfer freshly made ice to a freezer for storage. The ice maker is not designed to be a freezer and will not keep ice frozen for extended periods.
5. Underhâld
5.1 Selsreinigjende funksje
- The Fakir Ice Maker features a self-cleaning function for convenient maintenance.
- To activate, ensure the water reservoir is filled with clean water.
- Refer to the specific instructions in your product's quick start guide for the exact button sequence to initiate the self-cleaning cycle.
- After the cycle completes, drain any remaining water and wipe the interior dry.
5.2 Regelmjittich skjinmeitsjen
- Eksterieur: Wipe de bûtenkant mei in sêft, damp doek. Brûk gjin abrasive skjinmakkers of solvents.
- Binnenkant: Periodically clean the water reservoir and ice collection area as described in Section 3.3.
- Air Vents: Use a soft brush or vacuum cleaner to remove dust from the air vents on the sides and back of the unit to ensure efficient operation.
5.3 Wetter ôfwetterje
- When not in use for an extended period, or before moving the unit, drain all water from the reservoir.
- Locate the drain plug (usually at the bottom or side of the unit). Place a container underneath and remove the plug to drain the water.
- Once drained, replace the plug securely.
6. Probleemoplossing
Foardat jo kontakt opnimme mei de klanttsjinst, rieplachtsje asjebleaft de folgjende hantlieding foar probleemoplossing.
| Probleem | Mooglike oarsaak | Oplossing |
|---|---|---|
| Iismakker produseart gjin iis. | No water in reservoir; 'ADD WATER' light is on. | Folje it wetterreservoir mei drinkwetter oant de MAX-line. |
| Iismakker produseart gjin iis. | Ice basket is full; 'ICE FULL' light is on. | Fuortsmite iis út 'e koer. |
| Iismakker produseart gjin iis. | Unit is not plugged in or powered on. | Ensure the unit is properly plugged in and the 'POWER' button is pressed. |
| Iisblokjes binne lyts of bewolkt. | De wettertemperatuer is te heech; de omjouwingstemperatuer is te heech. | Brûk kâlder wetter. Plak de iismakker yn in koeler omjouwing. |
| Ungewoane lûd ûnder operaasje. | Unit is not level; fan obstruction. | Ensure the unit is on a level surface. Check for obstructions around the fan vents. |
7. Spesifikaasjes
| Eigenskip | Spesifikaasje |
|---|---|
| Merknamme | Fakir |
| Model Number | 41004937 |
| Kapasiteit (wettertank) | 1.8 liter |
| Elektryske Power | 1000 watt |
| Ice Production Rate | 9 kubussen yn 8 minuten |
| 24-Hour Ice Production | Oant 12 kg |
| ASIN | B0CB8RCRRH |