1. Produkt Overview
The Aramox Smart Thermostat is designed for electric heating systems, offering precise temperature control and a clear LCD display. It integrates a highly reliable single-chip microcomputer for accurate temperature regulation and strong anti-interference capabilities. The thermostat provides a wide temperature measurement range and adjustable settings for a comfortable indoor environment.

Figure 1: Aramox Smart Thermostat installed in a room, displaying temperature.
2. Package Ynhâld
Soargje derfoar dat by it iepenjen fan it pakket alle folgjende items oanwêzich binne:
- 1 x Aramox Smart Thermostat Unit
- 2 x Mounting Screws
- 1 x Wiring Harness
- 1 x brûkershantlieding (dit dokumint)
3. Opset en ynstallaasje
Warning: Electrical installation should be performed by a qualified professional to prevent electric shock or damage to the device. Always turn off power at the circuit breaker before beginning installation.
3.1 De termostaat ynstallearje
- Choose a suitable location on an interior wall, away from direct sunlight, drafts, or heat sources.
- Carefully remove the front panel of the thermostat to access the mounting holes.
- Mark the positions for the mounting screws on the wall.
- Boarje foarboargaten as it nedich is en befestigje de basis fan 'e termostaat oan' e muorre mei de levere skroeven.
3.2 Wiring Ynstruksjes
Refer to the wiring diagram on the back of the thermostat and the provided wiring harness. Ensure connections are secure and correct for your electric heating system.

figuer 2: Rear view of the thermostat with wiring terminals labeled.
- Connect the Live (L) wire from your power supply to the L terminal on the thermostat.
- Connect the Neutral (N) wire from your power supply to the N terminal on the thermostat.
- Connect the heating load wires to the appropriate output terminals (e.g., L1, N1 for heating element).
- Once wiring is complete, reattach the front panel of the thermostat.
- Weromsette macht by de circuit breaker.
4. Bedriuwsinstruksjes
The thermostat features an intuitive keypad and a clear LCD display for easy operation.
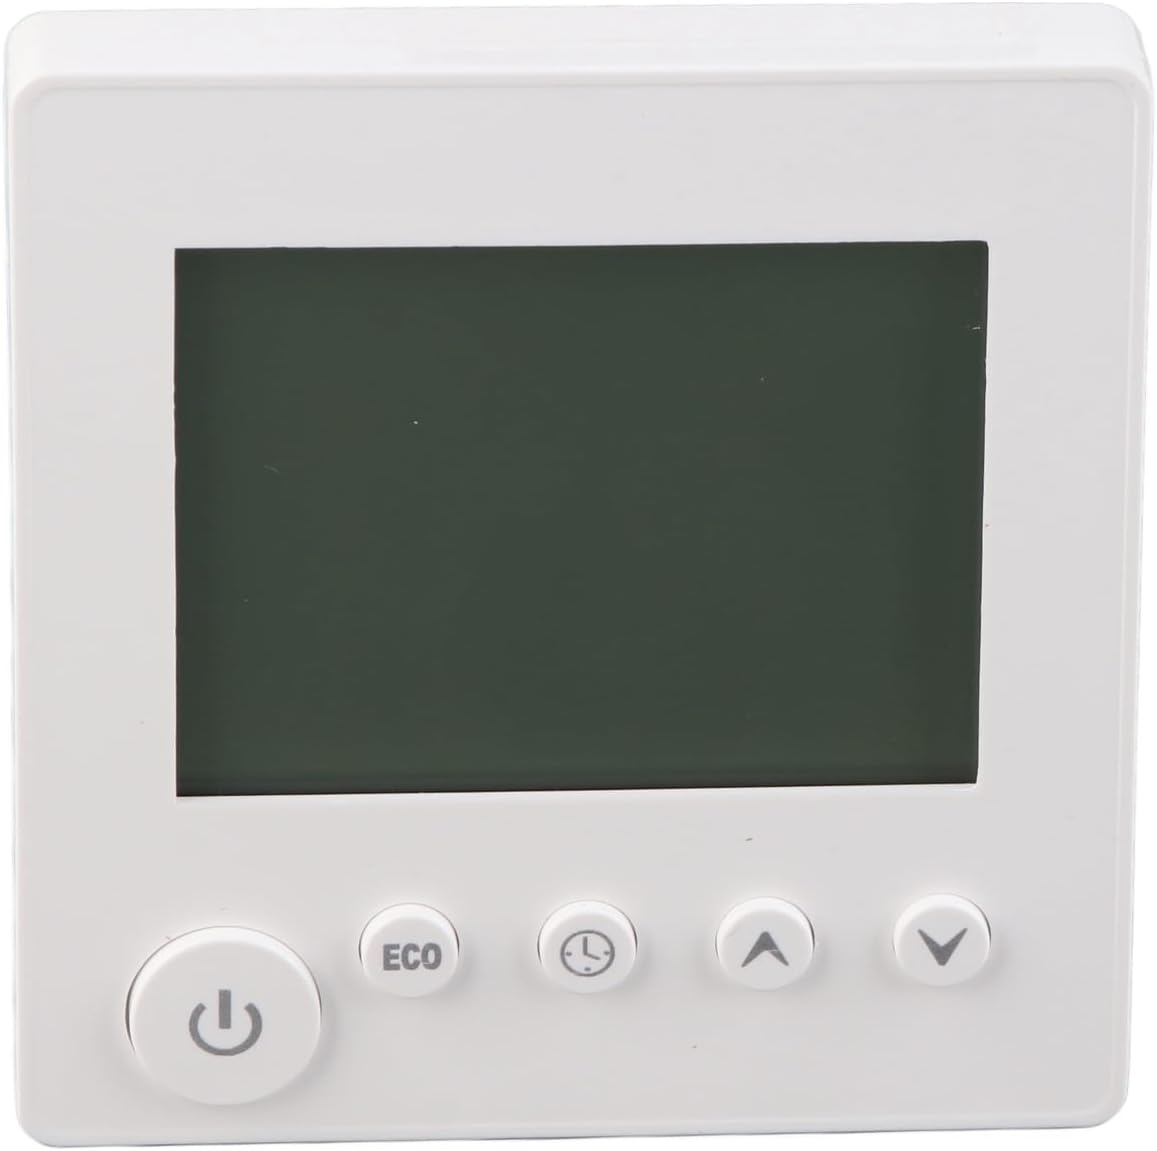
figuer 3: Front view of the thermostat showing the LCD and control buttons.
4.1 Power On / Off
- Druk op de Power knop () to turn the thermostat on or off.
4.2 De temperatuer ynstelle
- Brûk de Pijl omheech knop () to increase the desired temperature.
- Brûk de Pylk omleech knop () om de winske temperatuer te ferleegjen.
- The current and set temperatures will be displayed on the LCD screen.
4.3 ECO-modus
- Druk op de ECO knop to activate or deactivate energy-saving mode. In ECO mode, the thermostat will adjust the temperature to a more energy-efficient setting.
4.4 Time/Program Settings
- Druk op de Klok / Timer knop () to access time and programming settings. Follow the on-screen prompts to set the current time or schedule heating periods.
5. Underhâld
The Aramox Smart Thermostat requires minimal maintenance.
- Reiniging: The LCD screen is scratch-resistant and easy to clean. Use a soft, dry cloth to wipe the screen and the thermostat body. Avoid using abrasive cleaners or solvents.
- Ynspeksje: Kontrolearje de bedradingferbiningen periodyk om te soargjen dat se feilich bliuwe.
6. Probleemoplossing
As jo problemen hawwe mei jo termostaat, sjoch dan nei de folgjende faak foarkommende problemen en oplossingen:
| Probleem | Mooglike oarsaak | Oplossing |
|---|---|---|
| Thermostaat giet net oan | Gjin stroomfoarsjenning; ferkearde bedrading; stroomûnderbrekker útskeakele. | Check circuit breaker; verify wiring connections; ensure power is supplied to the unit. |
| Ferkearde temperatuerlêzing | Sensor obstruction; thermostat located near heat/cold source. | Ensure sensor is clear; relocate thermostat if exposed to extreme temperatures. |
| Ferwaarmingssysteem reagearret net | Incorrect wiring; heating system malfunction; thermostat settings. | Verify wiring to the heating system; check heating system for faults; confirm thermostat is set to heating mode and desired temperature is above ambient. |
| It skerm is leech of flikkert | Power fluctuation; internal fault. | Cycle power to the thermostat at the circuit breaker. If the problem persists, contact support. |
7. Spesifikaasjes
| Eigenskip | Spesifikaasje |
|---|---|
| Item Type | Termostaat |
| Model Number | Aramox6mfynvtsku |
| Materiaal | ABS |
| Aktueel | 16A |
| Mjitflater | ± 1 ℃ |
| Temperatuer Setting Range | 5-60 ℃ (upper limit adjustable) |
| Temperatuerberik | 0-50 ℃ |
| Kontrôle modus | Kaai |
| Item Gewicht | Ca. 188 g / 6.63 oz |
| Package Ofmjittings | 4.33 x 3.94 x 2.76 inch |
8. Warranty Information
Specific warranty details for the Aramox Smart Thermostat (Model Aramox6mfynvtsku) may vary. Please refer to the warranty card included with your product or contact the seller/manufacturer directly for comprehensive warranty terms and conditions.
9. Stipe
For technical assistance, troubleshooting beyond this manual, or inquiries regarding your Aramox Smart Thermostat, please contact your point of purchase or the manufacturer directly. Ensure you have your model number (Aramox6mfynvtsku) and purchase date available when seeking support.