1. Ynlieding
Tankewol foar de oankeapasing the OLIGHT Warrior Ultra tactical flashlight. This manual provides detailed instructions for the safe and effective use, maintenance, and troubleshooting of your device. Please read this manual thoroughly before operating the flashlight and retain it for future reference.
The Warrior Ultra is a high-performance tactical flashlight featuring a maximum output of 2500 lumens, a dual-switch design for versatile operation, an auto-dimming proximity sensor, and magnetic charging. Its robust O-aluminum construction ensures durability for various applications.

Image 1.1: The OLIGHT Warrior Ultra flashlight showcasing its available colors (Olive Green, Navy Blue, Stealth Grey) and key performance metrics: 2500 maximum lumens and 320 maximum meters beam distance.
2. Produkt Overview
Key Features:
- Premium bouwkwaliteit: Constructed from O-aluminum for exceptional durability and abrasion resistance, protecting internal components while maintaining a refined appearance.
- Hege prestaasjes: Delivers a powerful 2500-lumen output with a turbo mode, reaching 26,000 candela and illuminating distances up to 320 meters.
- Automatic Dimming Proximity Sensor: Automatically reduces brightness when near objects to prevent potential damage to the LED and surrounding surfaces.
- Dual Switch Operation: Features a side switch for five daily use modes and a tail switch for tactical applications. The textured tail switch provides enhanced grip and tactile feedback.
- Magnetyske opladen: Equipped with a customized rechargeable battery and easily charged using the MCC3 magnetic charging cable.
- Ferlingde Runtime: Offers an impressive maximum runtime of 55 days on its lowest setting.
- Real-Time Battery Feedback: Intuitive indicators visible through laser micro-perforations provide real-time brightness and remaining battery level information.
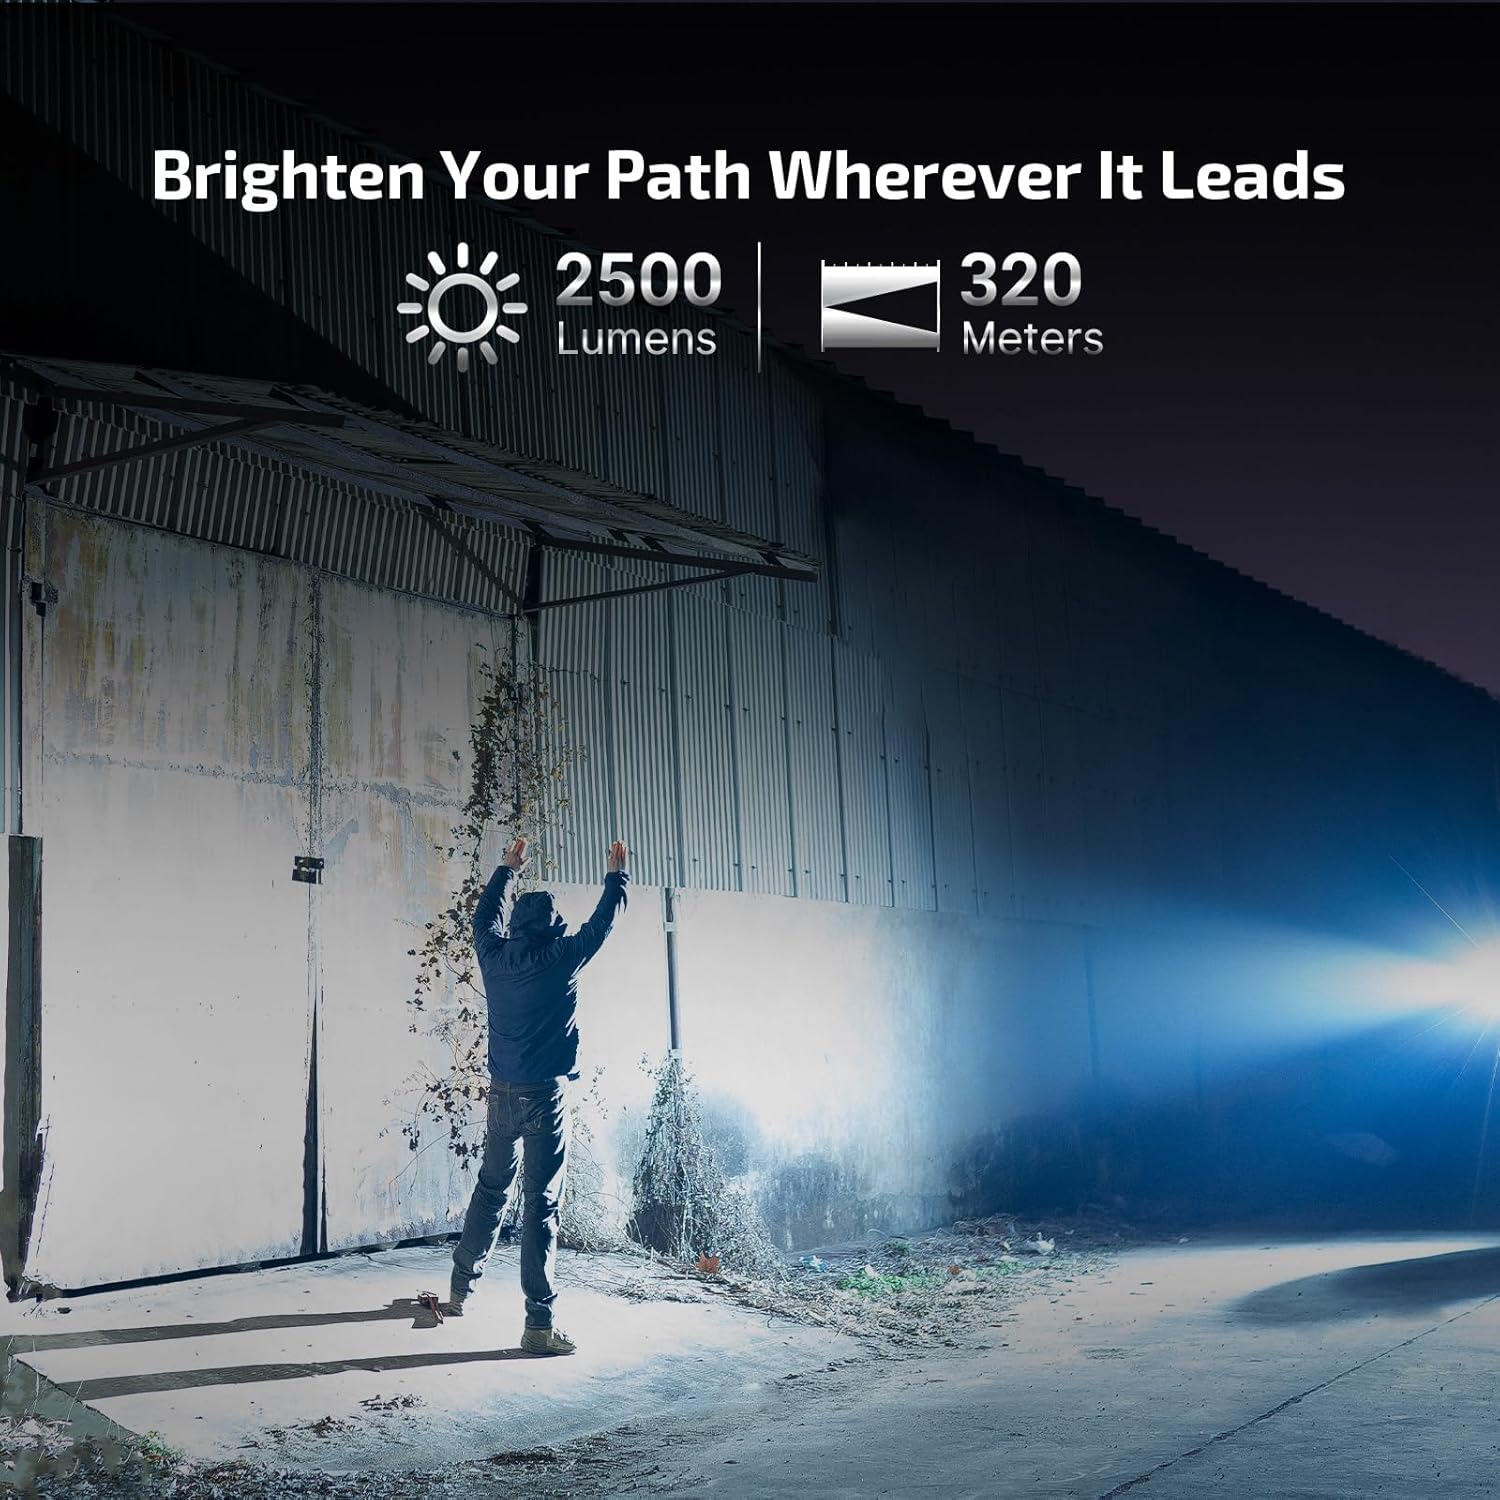
Image 2.1: The OLIGHT Warrior Ultra flashlight demonstrating its powerful 2500-lumen output and 320-meter beam distance in an outdoor setting.
3. Opsette
3.1 Initial Charging
Before first use, fully charge the flashlight. The Warrior Ultra uses a customized rechargeable battery and is charged via the included MCC3 magnetic charging cable.
- Connect the USB end of the MCC3 charging cable to a USB power source (e.g., computer, USB wall adapter).
- Attach the magnetic charging end to the tail cap of the flashlight. The indicator on the charging cable will glow red during charging and turn green when fully charged.
A full charge typically takes approximately 4 hours. Ensure the magnetic contact points are clean and free of debris for optimal charging.

Image 3.1: The OLIGHT Warrior Ultra flashlight showing its intuitive indicators for brightness and remaining battery level, visible through laser micro-perforations.
4. Bedriuwsinstruksjes
4.1 Side Switch Operation (Daily Use)
- Yn-/útskeakelje: Klik ien kear op de sydskeakel om de zaklamp oan of út te skeakeljen.
- Feroarje helderheidsnivo: As de zaklamp oan is, hâld dan de sydskeakel yndrukt om troch de modi Leech, Middel en Heech te wikseljen. Lit de skeakel los om de winske modus te selektearjen.
- Moanneljochtmodus: As de zaklamp út is, hâld de sydskeakel sawat ien sekonde yndrukt om de Moanneljochtmodus te aktivearjen.
- Turbo modus: Dûbelklik op de sydskeakel om de Turbo-modus te aktivearjen. Dûbelklik nochris om werom te gean nei de foarige modus.
- Strobe modus: Trije kear klikke op de sydskeakel om de Strobe-modus te aktivearjen. Ien kear klikke of yndrukke en ynhâlde om te sluten.
4.2 Tail Switch Operation (Tactical Use)
The tail switch offers two distinct settings for tactical operation:
- Setting 1 (Default): Light press for Medium mode, deep press for Turbo mode.
- Ynstelling 2: Light press for Turbo mode, deep press for Strobe mode.
To switch between settings, press and hold the tail switch and then simultaneously press the side switch. Release both switches to confirm the change.

Ofbylding 4.1: Detaillearre view of the OLIGHT Warrior Ultra's side and tail switches, emphasizing the grippy dot-textured button and larger side button with hex bezel thumb rest for secure and reliable operation.
4.3 Proximity Sensor
The integrated proximity sensor automatically detects nearby objects. When an object is too close to the lens, the flashlight will automatically reduce its brightness to prevent overheating and potential damage to both the flashlight and the object. The brightness will return to its previous level once the obstruction is removed.

Image 4.2: The OLIGHT Warrior Ultra's auto-dimming proximity sensor. The left shows full brightness, while the right shows reduced brightness when the flashlight is close to an object, preventing damage.
4.4 Weapon Mounted Light (WML) Functionality
With optional accessories such as the sROD-7 remote, sROD remote, and E-WM25 flashlight mount, the Warrior Ultra can be securely mounted and function as a powerful Weapon Mounted Light (WML).

Image 4.3: The OLIGHT Warrior Ultra configured as a WML, illustrating its use with optional accessories like a remote switch for tactical applications.
5. Underhâld
5.1 Cleaning
- Regularly clean the lens with a soft, clean cloth to maintain optimal light output.
- Keep the magnetic charging port and tail cap contact points clean to ensure reliable charging. Use a cotton swab with rubbing alcohol if necessary.
5.2 Opslach
- Bewarje de zaklamp op in koel, droech plak fuort fan direkte sinne en ekstreme temperatueren.
- For long-term storage, it is recommended to charge the battery every 3-6 months to maintain battery health.

Image 5.1: The OLIGHT Warrior Ultra flashlight shown with its matching canvas holster, illustrating a convenient way to carry and store the device.
6. Probleemoplossing
- Zaklamp giet net oan: Ensure the battery is sufficiently charged. Check if the tail cap is fully tightened.
- Ljochtútfier is dim of flikkerjend: Recharge the battery. Clean the lens and contact points.
- Bliksemlampe wurdt hjit: This is normal during high-output modes. The proximity sensor will automatically reduce brightness if it detects excessive heat or close objects. Ensure proper ventilation.
- Opladen wurket net: Ensure the MCC3 cable is properly connected to both the USB power source and the flashlight's tail cap. Clean the magnetic contact points. Try a different USB power source.
If you encounter issues not covered here, please contact OLIGHT customer support for assistance.
7. Spesifikaasjes
| Eigenskip | OLIGHT Warrior Ultra |
|---|---|
| Materiaal | O-aluminum |
| Max Output (lumen) | 2,500 |
| Max Beam Distance (meter) | 320 |
| Max Runtime (day) | 55 |
| Batterij | Customized Rechargeable Battery |
| Ofmjittings | 29 x 140 mm (1.14 x 5.51 yn) |
| Gewicht | 178 g (6.28 oz) |
| IP Rating | IPX8 |
| Drop Resistance (meter) | 2 |

Image 7.1: A detailed comparison table outlining the specifications of the OLIGHT Warrior Ultra against the Warrior 3S model.
8. Garânsje en stipe
OLIGHT products are manufactured with high-quality materials and craftsmanship. For information regarding warranty coverage and customer support, please refer to the official OLIGHT webside of nim kontakt op mei jo lokale dealer. Bewarje jo oankeapbon as bewiis fan oankeap foar garânsjeclaims.
For technical assistance, troubleshooting, or service inquiries, please visit www.olightworld.com or contact OLIGHT customer service directly.