1. Ynlieding
Thank you for choosing the Neretva 20-in-1 Bread Maker. This appliance is designed to simplify your bread-making process, offering a variety of programs for different bread types, doughs, and even yogurt. Please read this manual thoroughly before operating the bread maker to ensure safe and efficient use. Keep this manual for future reference.
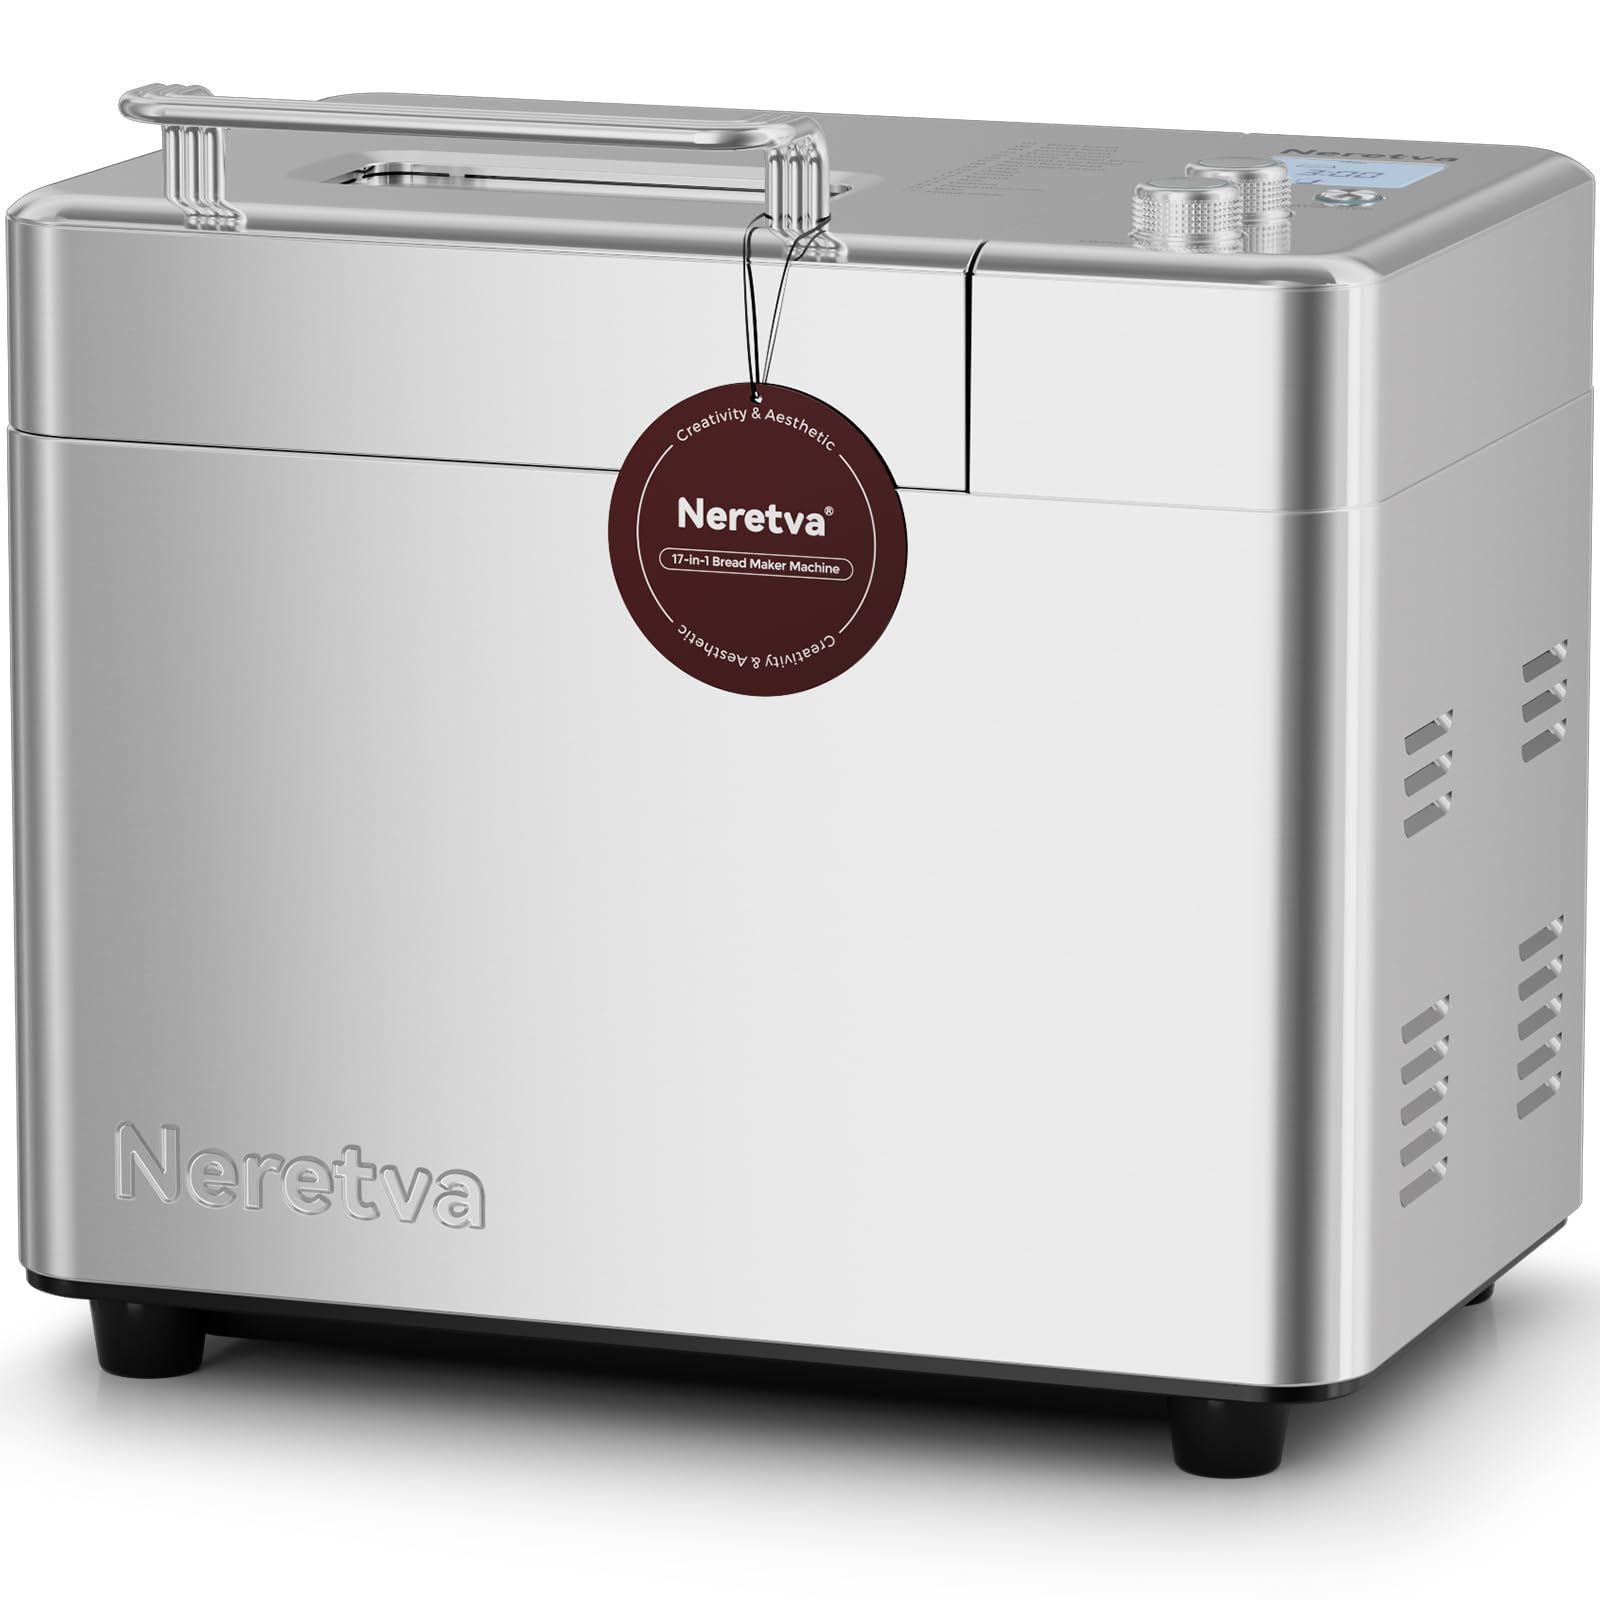
Image: The Neretva 20-in-1 Bread Maker, showcasing its sleek design and user-friendly control panel.
2. Wichtige Safety Ynstruksjes
By it brûken fan elektryske apparaten moatte basisfeiligens foarsoarchsmaatregels altyd wurde folge, ynklusyf de folgjende:
- Lês alle ynstruksjes foarsichtich.
- Net oanreitsje waarme oerflakken. Brûk handgrepen of knoppen.
- To protect against electric shock, do not immerse cord, plugs, or the bread maker housing in water or other liquid.
- Nauwe tafersjoch is nedich as elk apparaat wurdt brûkt troch of tichtby bern.
- Trek de stekker út it stopkontakt as net yn gebrûk en foar skjinmeitsjen. Lit ôfkuolje foardat jo dielen oansette of ôfnimme.
- Betsjinje gjin apparaat mei in skansearre snoer of stekker, of neidat it apparaat defekt is of op ien of oare manier skansearre is.
- It brûken fan aksessoires taheaksels net oanrikkemandearre troch de fabrikant fan it apparaat kin feroarsaakje blessueres.
- Brûk net bûten.
- Lit it snoer net oer de râne fan tafel of oanrjocht hingje, of oanreitsje waarme oerflakken.
- Net pleatse op of tichtby in heule gas- of elektryske burner, of yn in ferwaarme oven.
- Ekstreem foarsichtich moat brûkt wurde by it ferpleatsen fan in apparaat dat hjitte oalje of oare hjitte floeistoffen befettet.
- Om de ferbining los te meitsjen, set in kontrôle op 'út' en helje dan de stekker út it stopkontakt.
- Brûk it apparaat net foar oars as bedoeld gebrûk.
3. Produkt Overview
Key Features:
- 20-in-1 Programs: Versatile settings for various bread types, doughs, jams, cakes, and yogurt.
- Dual Heating Elements: Ensures even baking and consistent crust development.
- Kapasiteit fan 2 lb: Ideal for families, allowing for larger loaves.
- Non-Stick Ceramic Pan: Durable and easy to clean, promoting healthier baking.
- Automatyske fruit- en nutedispenser: Automatically adds ingredients at the optimal time during the baking cycle.
- Kompakt ûntwerp: Space-saving footprint for any kitchen countertop.
Komponinten:
- Wenjen yn haad unit
- Control Panel mei LCD Display
- Deksel mei Viewyn finster
- Baking Pan (Non-Stick Ceramic)
- Kneading Paddle
- Automatyske fruit- en nutedispenser
- Measuring Cup and Spoon (accessories)

Image: The Neretva Bread Maker showcasing the variety of items that can be made using its 17 program menus, including different types of bread, pastries, and other food items.

Ofbylding: In ynterne view of the bread maker highlighting the dual heating elements, which ensure even heat distribution for thorough and efficient baking.

Ofbylding: In detaillearre view of the automatic fruit and nut dispenser, demonstrating its function in adding ingredients at the correct stage of the baking process.
4. Opsette
4.1 Útpakke
- Helje de bôlebakmasine en alle accessoires foarsichtich út 'e ferpakking.
- Ferwiderje alle ferpakkingsmaterialen, stickers of etiketten.
- Kontrolearje dat alle dielen oanwêzich binne en net beskeadige.
4.2 Foar it earste gebrûk
- Feie de bûtenkant fan 'e bôlebakmasine ôf mei advertinsjeamp doek.
- Wash the baking pan, kneading paddle, and measuring accessories with warm, soapy water. Rinse thoroughly and dry completely.
- Ensure the baking pan is securely locked into the main unit.
4.3 Pleatsing
- Place the bread maker on a stable, flat, heat-resistant surface, away from direct sunlight and heat sources.
- Ensure there is adequate ventilation around the appliance. Do not cover the ventilation slots.
- Stek de macht cord yn in grûn elektryske outlet.
5. Bedriuwsinstruksjes
5.1 Basis Operaasje
- Yngrediïnten tafoegje: Place the kneading paddle into the baking pan. Add liquid ingredients first, followed by dry ingredients. Ensure yeast is added last and does not come into direct contact with liquids or salt.
- Menu selektearje: Close the lid. Use the 'Menu' button to cycle through the 20 available programs. The selected program number will be displayed on the LCD screen.
- Select Loaf Size & Crust Color: For applicable programs, use the 'Loaf Size' and 'Crust Color' buttons to adjust settings according to your recipe and preference.
- Begjin mei bakken: Press the 'Start/Stop' button to begin the program. The machine will beep, and the timer will start counting down.
- Brea fuortsmite: Once the program is complete, the machine will beep. Press and hold the 'Start/Stop' button for a few seconds to stop the machine. Carefully remove the baking pan using oven mitts. Invert the pan to release the bread.

Image: A visual guide demonstrating the three simple steps to bake bread: adding ingredients, selecting the program, and the final baked bread.
5.2 Program Functions (20-in-1)
The Neretva Bread Maker offers 20 distinct programs. Refer to the recipe book for specific ingredient quantities and program recommendations.
| Program No. | Program Namme | Beskriuwing |
|---|---|---|
| 1 | Basis Bread | For white and mixed breads, mainly consisting of wheat flour. |
| 2 | Frânsk Brood | Foar ljochte broadsjes makke fan fyn moal. |
| 3 | Folsleine tarwe | For breads with a high proportion of whole wheat flour. |
| 4 | Quick Bread | For quick baking without yeast, using baking powder/soda. |
| 5 | Sweet Bread | Foar brea mei in hege sûker-, fett- en proteïne-ynhâld. |
| 6 | Glutenfrij | For gluten-free flour and recipes. |
| 7 | Sourdough | For sourdough bread recipes. |
| 8 | Yoghurt | Foar it meitsjen fan selsmakke yoghurt. |
| 9 | Jam | Foar it meitsjen fan selsmakke jams en konfyten. |
| 10 | Taart | Foar it bakken fan gebak en flugge brea. |
| 11 | Daai | For preparing dough for rolls, pizza, or pasta without baking. |
| 12 | Knead | Allinnich foar it kneden fan daai. |
| 13 | Bake | For baking only, useful for additional browning or pre-baked items. |
| 14 | Rice Bread | Foar brea makke mei rysmiel. |
| 15 | Corn Bread | For breads made with corn flour. |
| 16 | Rye Bread | For breads made with rye flour. |
| 17 | French Dough | For preparing French-style dough. |
| 18 | Pizza Dough | Foar it tarieden fan pizzadeeg. |
| 19 | Droege fleisfloss | Special program for making dried meat floss. |
| 20 | Oanpast | Allows manual setting of kneading, rising, and baking times. |
5.3 Using the Automatic Dispenser
The automatic dispenser is designed to add fruits, nuts, or other small ingredients at the optimal time during the kneading cycle, preventing them from being over-processed. Open the dispenser lid and add your desired ingredients before starting the program. The dispenser will automatically open and release the ingredients at the appropriate time.
5.4 Fertragingstimerfunksje
The delay timer allows you to program the bread maker to finish baking at a later time, up to 15 hours. After selecting your program, loaf size, and crust color, press the 'Timer' buttons to adjust the delay time. Then press 'Start/Stop'. The display will show the total time until the bread is ready.
6. Underhâld en Cleaning
Regelmjittich skjinmeitsjen soarget foar de lange libbensdoer en optimale prestaasjes fan jo breabakmasine.
6.1 De bakfoarm en kneedpaddel skjinmeitsje
- Skeakelje it apparaat altyd út en lit it folslein koelje foardat jo skjinmeitsje.
- Remove the baking pan from the unit. Fill it with warm, soapy water and let it soak for 10-15 minutes to loosen any stuck-on dough or residue.
- Remove the kneading paddle. Clean the pan and paddle with a soft sponge. Do not use abrasive cleaners or metal scouring pads, as this can damage the non-stick ceramic coating.
- Spoel goed ôf en lit folslein droegje foardat jo it wer yninoar sette of opslaan.
6.2 Reiniging fan 'e bûtenkant en binnenkant
- Feie de bûtenkant fan 'e bôlebakmasine ôf mei in sêfte, damp doek. Brûk gjin hurde gemikaliën of abrasive skjinmakkers.
- Meitsje de binnenkant fan 'e bakkeamer skjin mei advertinsjesamp cloth. Ensure no crumbs or residue remain.
- Dompelje de haadunit nea yn wetter of in oare floeistof.
7. Probleemoplossing
If you encounter any issues with your bread maker, please refer to the following common problems and solutions:
| Probleem | Mooglike oarsaak | Oplossing |
|---|---|---|
| Brea komt net omheech | Expired yeast, incorrect water temperature, too much salt/sugar, wrong program. | Check yeast expiry, use lukewarm water (105-115°F / 40-46°C), verify ingredient measurements, select appropriate program. |
| Brea is te ticht | Tefolle moal, net genôch floeistof, net genôch kneden. | Measure ingredients precisely, ensure proper liquid-to-flour ratio, check kneading paddle is installed correctly. |
| Bôle plakt oan 'e panne | Pan not properly cleaned, damaged non-stick coating. | Ensure pan is clean and dry. If coating is damaged, contact support. |
| Masine begjint net | Net ynstutsen, stroom úttage, 'Start/Stop' button not pressed. | Check power connection, ensure power supply, press 'Start/Stop' button firmly. |
| Ungewoane lûd ûnder operaasje | Kneading paddle loose, foreign object in pan, machine unstable. | Ensure kneading paddle is securely attached. Check for foreign objects. Place machine on a stable surface. |
As it probleem oanhâldt nei it besykjen fan dizze oplossingen, nim dan kontakt op mei klanttsjinst.
8. Spesifikaasjes
- Model Oantal: PE9709SU
- Produkt Ofmjittings: 35 x 26.5 x 32.5 sm (13.78" D x 10.43" B x 12.8" H)
- Item Gewicht: 13.11 pûn (5.96 kg)
- Kapasiteit: 2.2 pûn (sawat 1 kg)
- Voltage: 220 Volt
- Kleur: Sulver
- Fabrikant: Neretva

Image: The Neretva bread maker on a kitchen counter, illustrating its compact size and suitability for family use.
9. Garânsje en stipe
Your Neretva Bread Maker comes with a standard manufacturer's warranty. Please refer to the warranty card included in your product packaging for specific terms and conditions.
For technical support, troubleshooting assistance, or warranty claims, please contact Neretva customer service. Contact information can typically be found on our official webside of op 'e produktferpakking.
Please have your model number (PE9709SU) and purchase date ready when contacting support.