1. Ynlieding
Thank you for choosing the SUNVIVI 8-in-1 Nut Milk Maker Machine. This appliance is designed to simplify the preparation of various plant-based milks, juices, and other beverages. With its versatile functions, you can create fresh soy milk, nut milk, oat milk, rice paste, juices, and milkshakes, as well as boil water and utilize a self-cleaning feature. Please read this manual thoroughly before operation to ensure safe and efficient use.

figuer 1: Front view of the Sunvivi 8-in-1 Nut Milk Maker Machine.
2. Wichtige Safety Ynstruksjes
- Lês alle ynstruksjes foardat jo it apparaat brûke.
- Dompel it haadapparaat, it snoer of de stekker net ûnder yn wetter of oare floeistoffen.
- Nauwe tafersjoch is nedich as elk apparaat wurdt brûkt troch of tichtby bern.
- Trek de stekker út it stopkontakt as net yn gebrûk en foar skjinmeitsjen. Lit ôfkuolje foardat jo dielen oansette of ôfnimme.
- Betsjinje gjin apparaat mei in skansearre snoer of stekker, of neidat it apparaat defekt is of op ien of oare manier skansearre is.
- It brûken fan aksessoires taheaksels net oanrikkemandearre troch de fabrikant fan it apparaat kin feroarsaakje blessueres.
- Brûk net bûten.
- Lit it snoer net oer de râne fan tafel of oanrjocht hingje, of oanreitsje waarme oerflakken.
- Net pleatse op of tichtby in heule gas- of elektryske burner, of yn in ferwaarme oven.
- Stek de stekker altyd earst yn it apparaat, en stek dan it snoer yn it stopkontakt. Om de stekker los te meitsjen, set in knop op "út" en helje dan de stekker út it stopkontakt.
- Brûk it apparaat net foar oars as bedoeld gebrûk.
- Wês ekstreem foarsichtich by it ferpleatsen fan in apparaat dat hjitte floeistof befettet.
- The appliance operates at approximately 70-80 decibels during blending cycles. This is normal for powerful blending.
3. Produkt Overview
Key Features:
- 8-in-1 veelzijdigheid: Functions include Juice, Soy Milk, Nut Milk, Milk Shake, Boil Water, Rice Paste, and Clean.
- 60oz (1.75L) Capacity: Ideal for family-sized servings.
- 10-Blade Stainless Steel System: Ensures ultra-smooth results without the need for straining.
- 24-oere fertraging fan start: Prepare ingredients in advance and set a delayed start time.
- 12-oere waarmhâldfunksje: Maintains optimal temperature after preparation.
- One-Touch Operation & Self-Clean: User-friendly interface and automatic cleaning for convenience.
- Duorsume konstruksje: Features a SUS 304 stainless steel interior for safety and longevity.
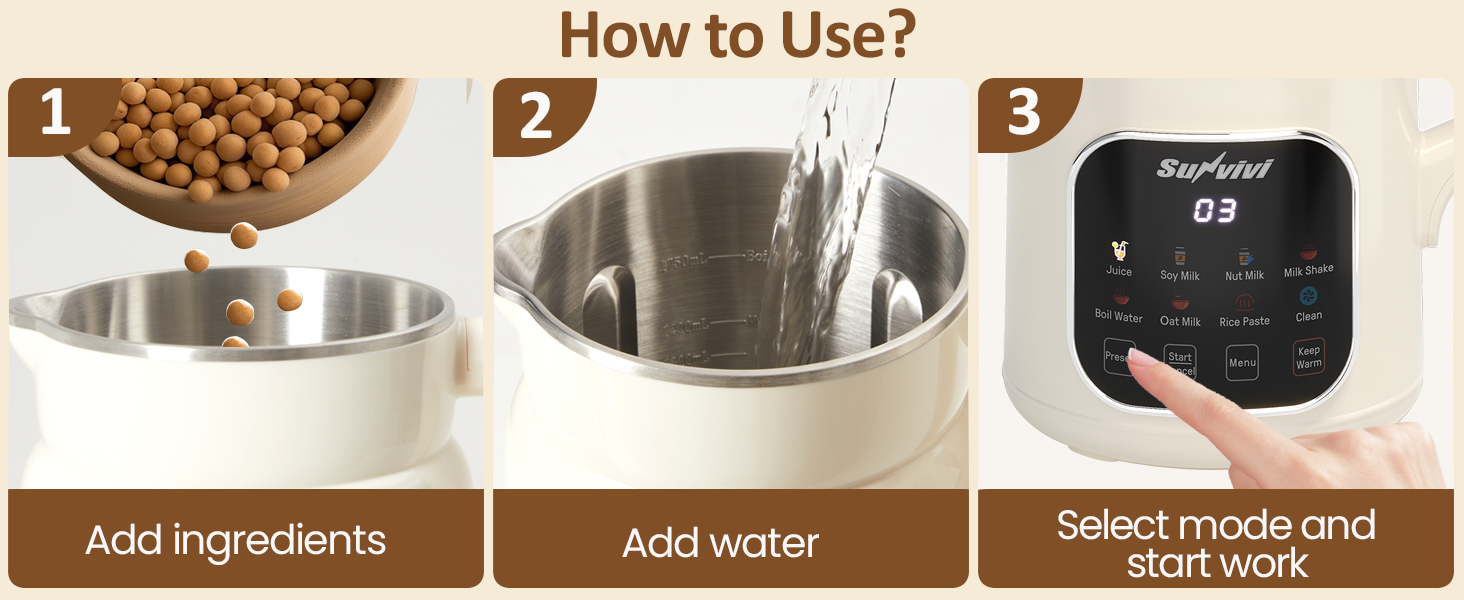
Figure 2: The 60oz capacity allows for multiple servings.

Figure 3: The powerful 10-blade system for fine blending.
4. Opsette
- Utpakke: Helje foarsichtich alle ûnderdielen út 'e ferpakking. Bewarje de ferpakking foar takomstige opslach of ferfier.
- Skjin: Before first use, wash the interior of the pitcher and the lid with warm, soapy water. Rinse thoroughly and dry. Wipe the exterior of the main unit with a damp doek. Dompelje de haadienheid net yn wetter.
- Pleatsing: Place the appliance on a stable, flat, heat-resistant surface away from the edge of the counter. Ensure adequate ventilation around the unit.
- Power Connection: Connect the power cord to the appliance and then to a grounded electrical outlet.
5. Operaasje
Algemiene stappen:
- Yngrediïnten tafoegje: Place your desired ingredients into the stainless steel pitcher.
- Wetter tafoegje: Fill with water up to the indicated maximum fill line (1.75L for Boil Water Max, 1.4L for Max for other functions).
- Feilich lid: Ensure the lid is properly closed and locked into place. An error code (E1) may appear if the lid is not correctly positioned.
- Selektearje programma: Press the "Menu" button repeatedly to cycle through the available programs (Juice, Soy Milk, Nut Milk, Milk Shake, Boil Water, Oat Milk, Rice Paste, Clean). The selected program icon will illuminate.
- Start: Press the "Start/Cancel" button to begin the selected program.

Figure 4: Basic operation steps for the Nut Milk Maker.
Spesifike programma's:
- Soy Milk / Nut Milk / Oat Milk: These programs are designed to process soaked or unsoaked beans/nuts into smooth, creamy milk. Follow specific recipes for ingredient ratios.
- Sop: Foar it mingen fan fruit en griente yn farske sappen.
- Milk Shake: Creates thick and smooth milkshakes.
- Ryspasta: Prepares smooth rice paste, suitable for various culinary uses.
- Wetter siede: Ferwaarmt wetter oant siedende temperatuer.
Delay Start & Keep Warm Functions:
- Delay Start (24-Hour): After adding ingredients and selecting a program, press the "Preset" button. Use the "Menu" button to adjust the delay time (up to 24 hours). Press "Start/Cancel" to confirm. The machine will begin operation after the set delay.
- Keep Warm (12-Hour): After a program finishes, the machine automatically enters a 12-hour "Keep Warm" mode, maintaining the beverage at an optimal serving temperature.

Figure 5: Utilize Delay Start for morning convenience and Keep Warm for extended enjoyment.
Offisjele produktfideo:
Fideo 1: In offisjele oerwinningview of the Sunvivi 8-in-1 Nut Milk Maker Machine's features and functions.
6. Underhâld en Cleaning
- Selsreinigjende funksje: After use, add water to the pitcher up to the "Clean" line. Select the "Clean" program from the menu and press "Start/Cancel". The machine will automatically clean its interior.
- Hânlieding skjinmeitsjen: For thorough cleaning, unplug the appliance and allow it to cool. Carefully remove the lid. Wash the interior of the pitcher and the lid with warm, soapy water and a non-abrasive sponge. Use the provided cleaning brush for hard-to-reach areas around the blades. Rinse thoroughly and dry.
- Eksterne reiniging: Feie de bûtenkant fan it haadapparaat ôf mei advertinsjesamp doek. Brûk gjin skurende reinigingsmiddels en dompel it haadapparaat net yn wetter.
- Opslach: Bewarje it skjinne en droege apparaat op in koel, droech plak.
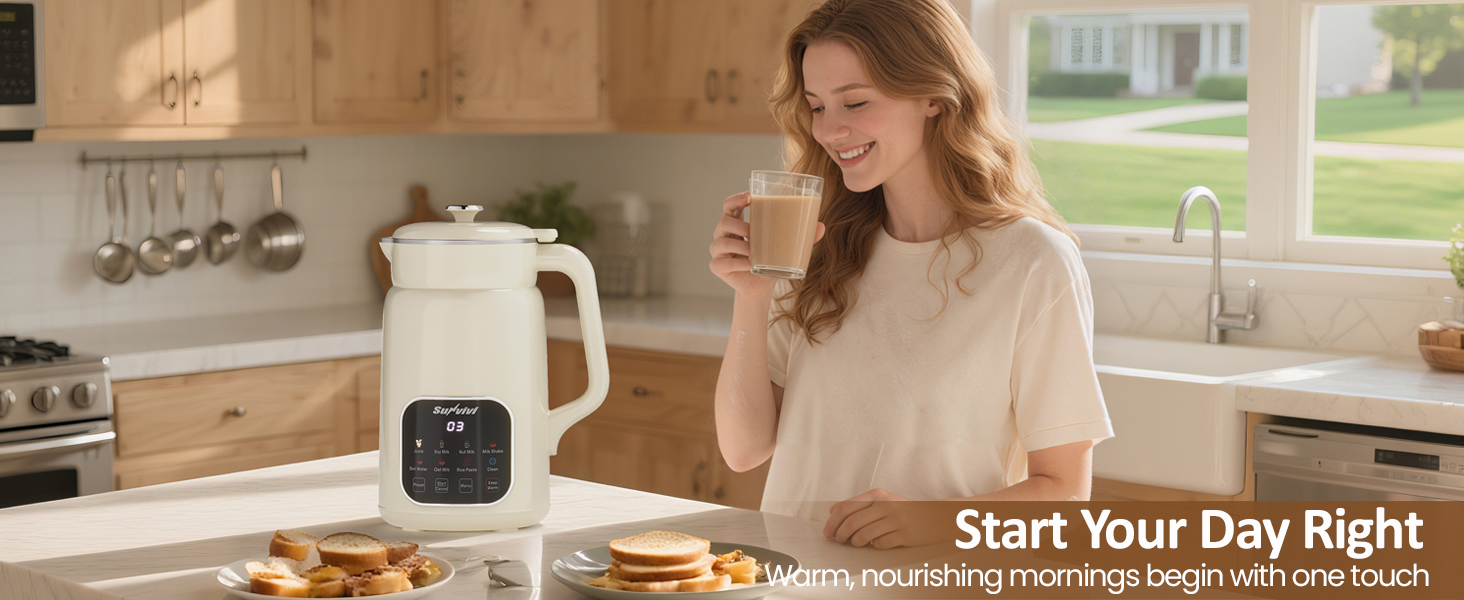
Figure 6: The one-touch self-cleaning function simplifies maintenance.
7. Probleemoplossing
| Probleem | Mooglike oarsaak | Oplossing |
|---|---|---|
| Apparaat docht net oan. | Net ynstutsen; stroom úttage; lid not properly closed. | Ensure power cord is securely plugged in. Check power supply. Close the lid correctly until it clicks into place. |
| Flaterkoade E1 werjûn. | Lid is not properly secured. | Ensure the lid is correctly aligned and fully closed. |
| Overflow during operation. | Overfilling the pitcher; ingredients expand during heating/blending. | Do not exceed the maximum fill line (1.4L for most functions, 1.75L for Boil Water). Reduce the amount of ingredients, especially those that expand significantly. |
| Loud noise during blending. | Normal operation for powerful blending. | The appliance operates at 70-80 decibels during blending, which is typical for this type of machine. This indicates the motor is working effectively. |
| Ingredients sticking to the bottom. | Insufficient liquid; certain ingredients are prone to sticking. | Ensure adequate liquid is used. For ingredients prone to sticking (e.g., dried beans), consider pre-soaking or adding more liquid. Use the self-clean function immediately after use. |
8. Spesifikaasjes
- Merk: SUNVIVI
- Model: 8-in-1 Nut Milk Maker Machine
- Kleur: Crème Wyt
- Kapasiteit: 1.75 liter (60 oz)
- Produktôfmjittings (D x B x H): 8.74" x 12.36" x 6.54"
- Materiaal: RVS (ynterieur)
- Item Gewicht: 3.7 pûn sterling
- Spesjale funksje: Automatic Cleaning, Delay Start, Keep Warm
- Power Boarne: AC

Figure 7: Product dimensions for placement and storage.
9. Garânsje en stipe
For warranty information, technical support, or customer service inquiries, please refer to the contact details provided with your purchase or visit the official SUNVIVI webside. Hâld jo produktmodel en oankeapdatum by de hân as jo kontakt opnimme mei stipe.